- Compatibility
- Setting up the connection between your weight scale and your mobile device.
- Collecting measurements from your weight scale
- Manual measurement entry
- Reviewing historical measurements in the interactive chart and list
- Share measurements
- Measurement data backup and recovery
- Other measurements
- Application settings and information
- Reminders
- Saving measurements online with MySimpleEye
- Sending Feedback
- Tanita® HD-351BT Bluetooth Wireless Digital Weight Scale
-
Buy Now:
- The Competitive Edge
- Tanita® BC-590BT Bluetooth Wireless Body Composition Scale
-
Buy Now:
- The Competitive Edge
Android Device Compatibility: SimpleEye Bluetooth Weight Scale has been tested and verified with Android 2.0 (Motorola® Droid on Verizon®), 2.1 (LG® Ally on Verizon® and T-Mobile® myTouch 3G Slide running HTC® SenseUI) and 2.2 (Google® Nexus One on T-Mobile®). Some minor issues that should not prevent measurements from being taken have been observed with Android 2.1 devices running the HTC® Sense UI: the Bluetooth implementations on these devices have unresolved errors.

If this is the first time the application is started, the help screen will show as in Figure 2 below.

Tap the button to close the help screen: you can tap the button at any time to access this screen.
The application will then check to see if Bluetooth is enabled. If not, it will request that Bluetooth be turned on, as shown in Figure 3 below. Bluetooth must be activated to use the Bluetooth features of the software.

Tap to approve the request: Bluetooth will turn on as shown in Figure 4 below.

The main application window is shown in Figure 5 below. Tap the Menu button to show the application menu as seen in Figure 5 below. You can also view the Help file at any time by clicking the Help button.

- Press the OUTPUT key to turn on the scale, as noted by a single beep. See page 3 of the HD-351BT manual for more details.
Tanita® BC-590BT:
- If using a personal key, ensure that the scale has been appropriately configured (see page 4 of the BC-590BT manual for more details on programming the scale with your personal information) and then press the appropriate personal key to turn on the scale, as noted by 3 beeps. See page 5 of the BC-590BT manual for more details.
- If using the Guest mode, press the Guest key to turn on the scale, as noted by 3 beeps. See page 7 of the BC-590BT manual for more details.
Once the scale is ready, tap the Select button and then tap the Find entry as shown in Figure 6 below.

The Android Bluetooth settings screen will open up and a scan will be performed: the phone should now find the weight scale as shown in Figure 7 below. The caption on the item will show Pair with this device to indicate that the scale is not paired.

Tap the scale item to start the pairing process: a pairing key dialog will be shown as in Figure 8 below. Enter the proper pairing code (for the supported Tanita scales that code is 0000).

Tap : the pairing process will complete and the weight scale item will change its caption to “Paired but not connected” to indicate that the pairing process is complete as shown in Figure 9 below.

You’re now ready to go! If using the Tanita® BC-590BT in Guest mode you will need to complete the setup of the scale as described on page 7 of the BC-590BT manual.

Tap Yes to accept it: you will then be prompted to set this scale as your default weight scale (if an existing scale is saved), as shown in Figure 11 below. Tap to do so.

If the scale supports automatic connections you will be prompted to turn on automatic connections as shown in Figure 12 below.

You will then be asked if you wish to connect to the weight scale right now as shown in Figure 13 below. Also, if you enabled automatic connections then a notification will appear.

If your scale is not currently on, turn it on now (as discussed here) and once the scale is ready (as indicated by one or more beeps) tap the option. Tap Connect once your scale is ready: a connection should be initiated. If automatic connections was enabled then once the scale is ready the application will automatically start the connection.
Once connected, the select button will be disabled and the Connect button will switch to Disconnect as shown in Figure 14 below. To disconnect from the weight scale before a measurement is taken, you can tap the button.

The scale will indicate the successful connection: wait until the scale displays 00. You can now step on the scale to measure your weight. As soon as the scale completes its measurement the data will be transmitted to the phone and displayed as shown in Figure 15 below.

If voice reports are enabled (they are enabled by default) the application will read out the most recent measurement values at this time.
Certain measurements may only be shown for supported scales: currently only the weight will be shown for the HD-351BT, but the BMI, total body fat and other detailed information will be shown for the BC-590BT. You may need to scroll down to see this additional information. The measurement is automatically saved, and the application will automatically disconnect from the scale once the measurement is received.

As before, you will be prompted to choose whether or not this will be your default entry method. Once this is done the spinner will reflect your choice and the button will change as shown in Figure 17 below. Any visible values will be cleared.

Tap Record to open up the manual entry screen as shown in Figure 18 below.
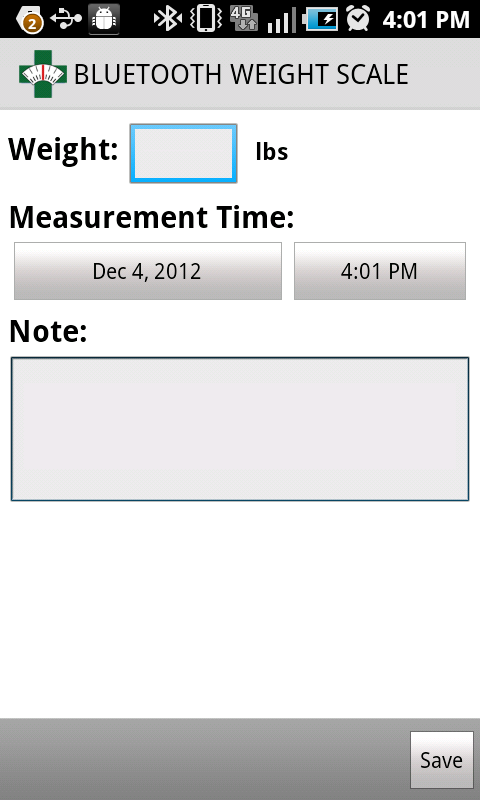
Enter the weight measurement details into the form: the weight is required, and must be a number. You can set the date of the measurement and also enter a short note with the measurement: example values are shown in Figure 19 below.
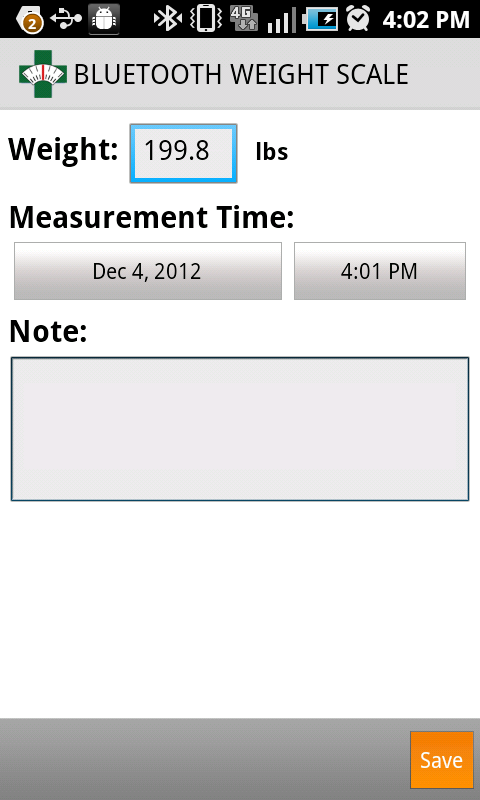
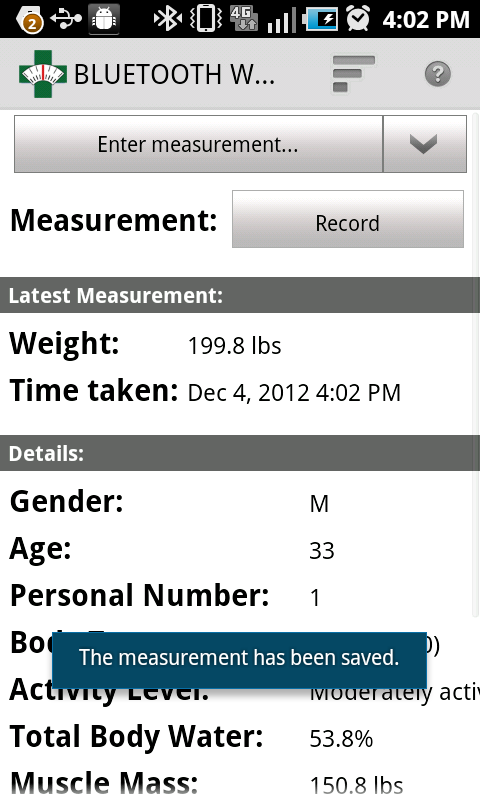
Tap Save to save the measurement. The measurement will be saved and the application will return to the measurement capture screen as shown in Figure 20 below.
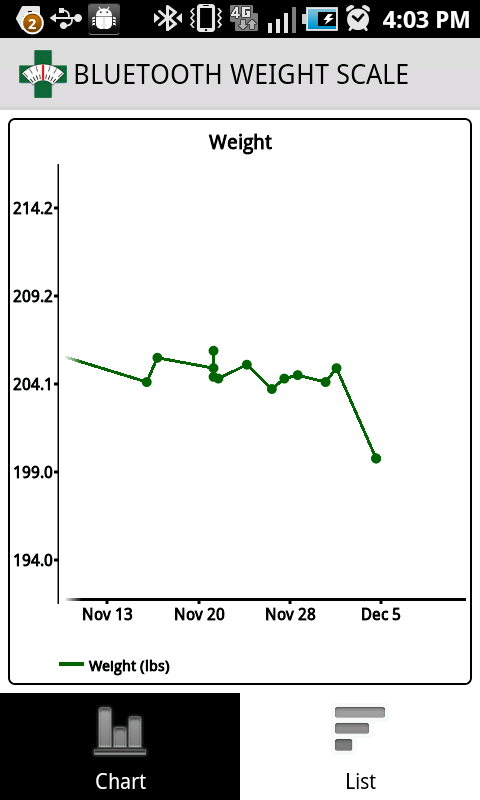
The chart can scroll to show previous measurements as shown in Figure 22 below.
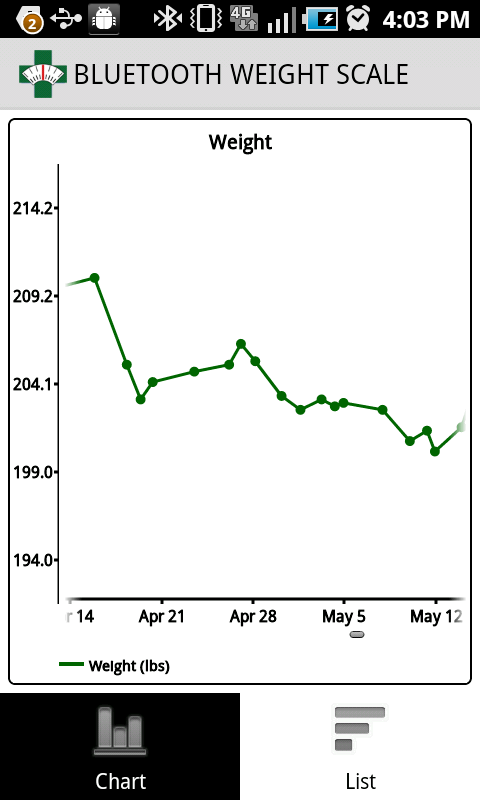
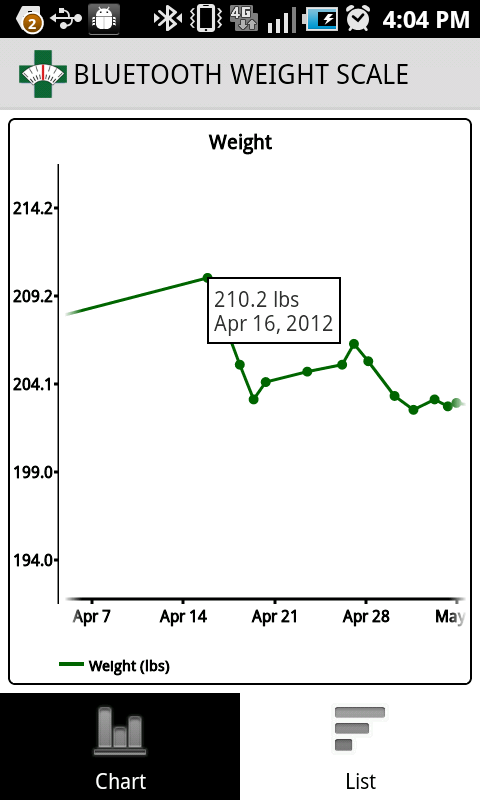
Tap on any point in the chart to see the measurement detail and the associated date as shown in Figure 23 below.
A long-press on the chart will open the chart options menu as shown in Figure 24 below: this allows the number of displayed measurements to be changed.
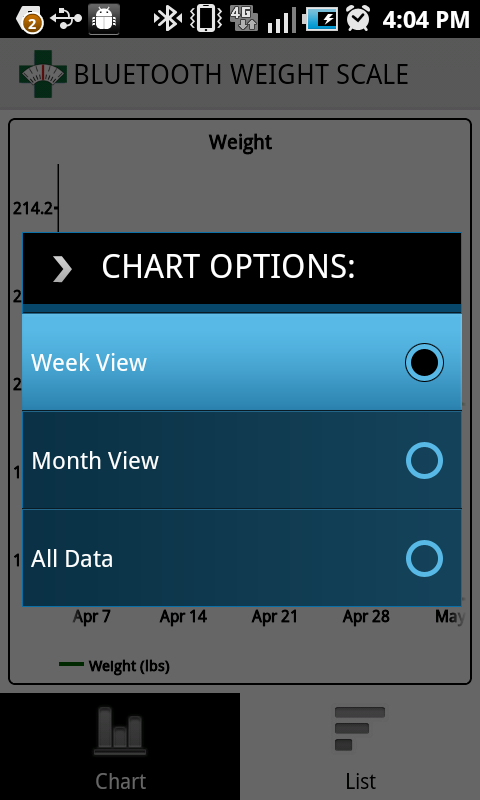
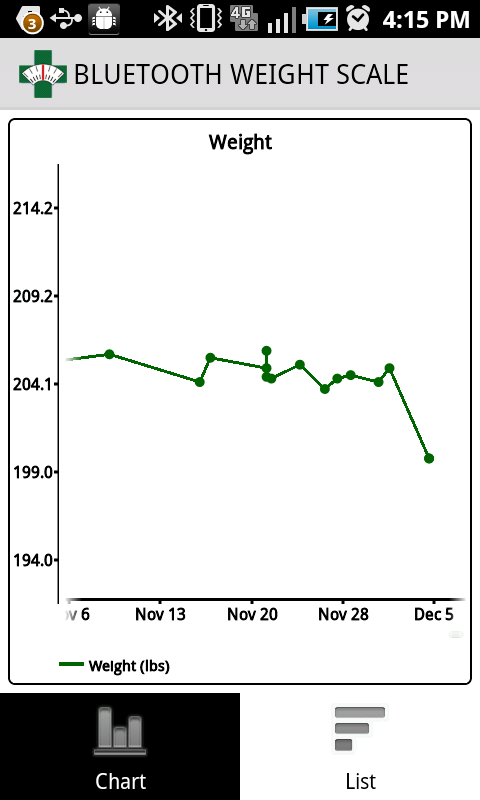
Figure 25 below shows the chart but with 1 week of measurements at a time.
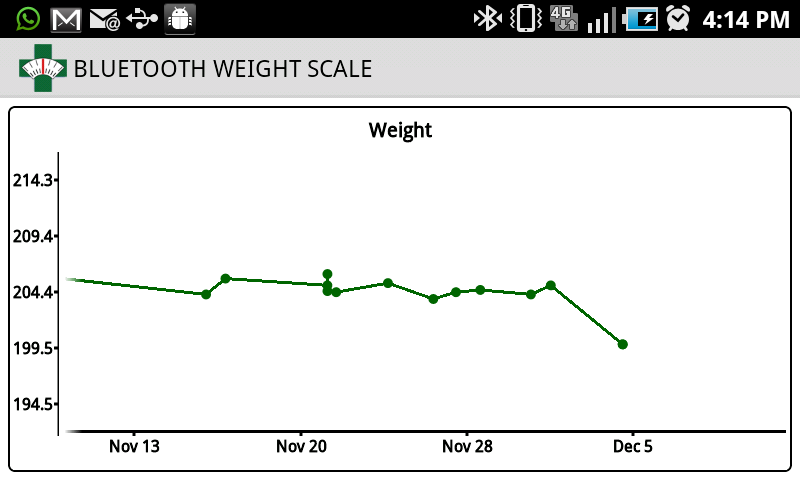
When the phone orientation is changed to landscape the chart will enlarge to fill as much space as is available, as shown in Figure 26 below.
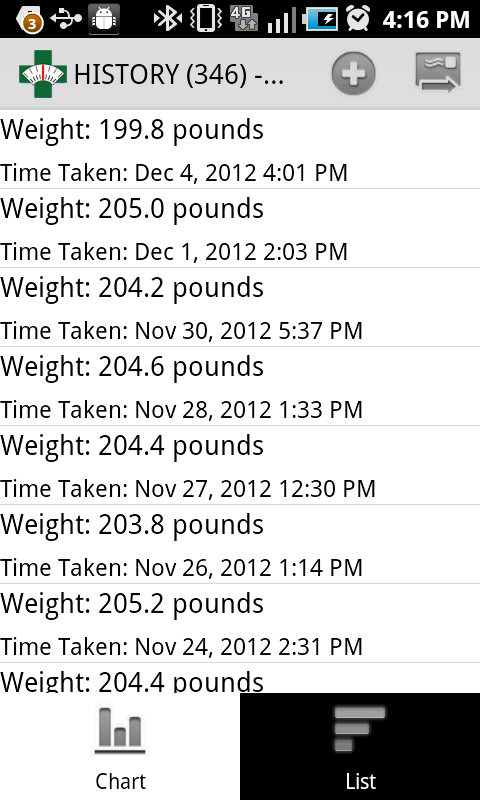
Tap the chart to show a listing of all measurements as shown in Figure 27 below. The measurements are ordered with the most recent measurement at the top.
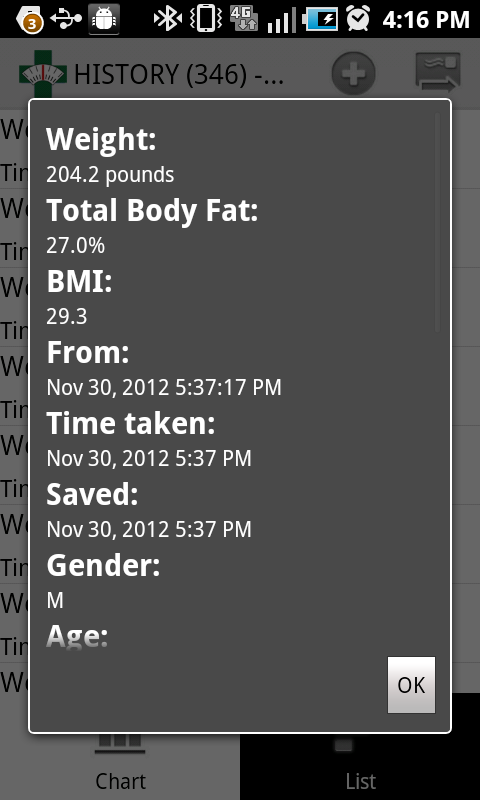
Tap on any entry in the listing to view the details of the measurement, including the note attached to the measurement (if any), the time it was saved and last modified and any other additional measurement details taken: you may need to scroll to see those details. This is shown in Figure 28 below. Tap the button when done.
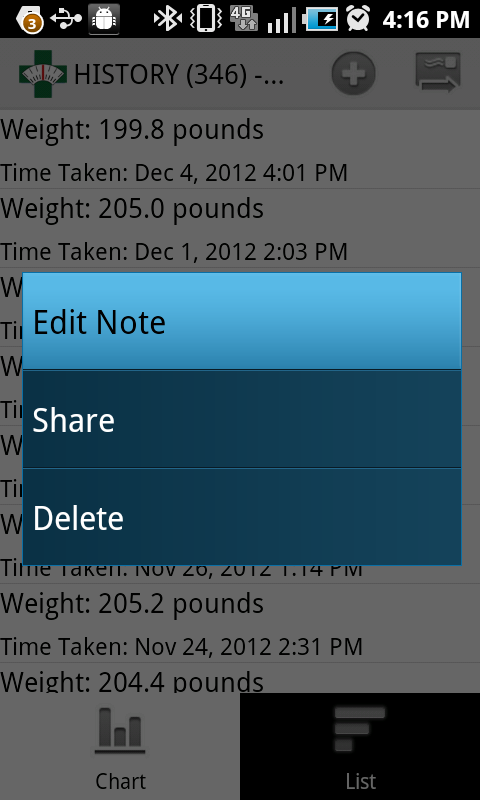
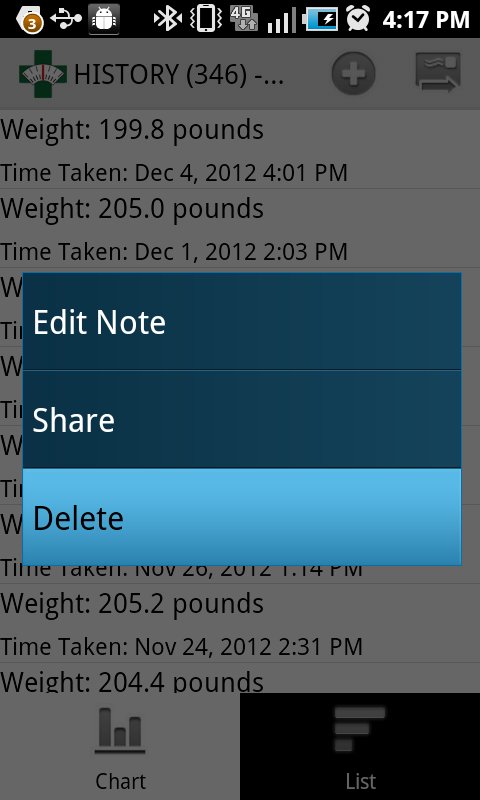
A long press on any entry in the listing will open its menu, as shown in Figure 29 below.
Tap the menu item to change the note attached to the measurement: you can then enter and changes into the provided input field as shown in Figure 30 below.
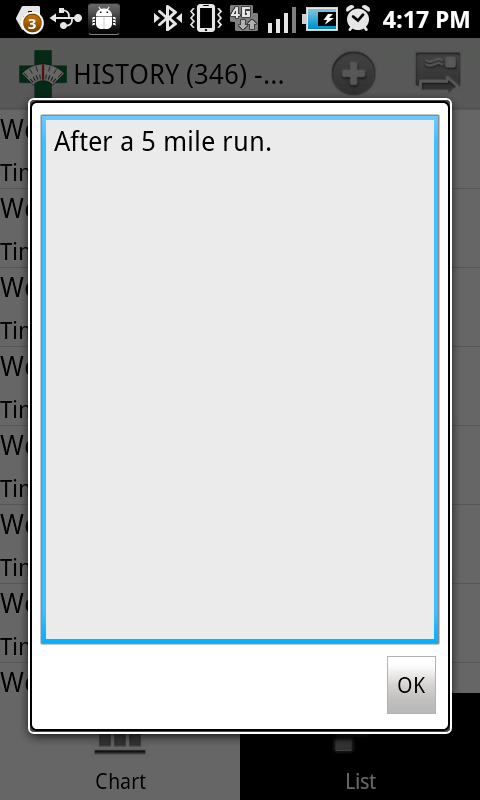
Tap OK to save the changes as shown in Figure 31 below.
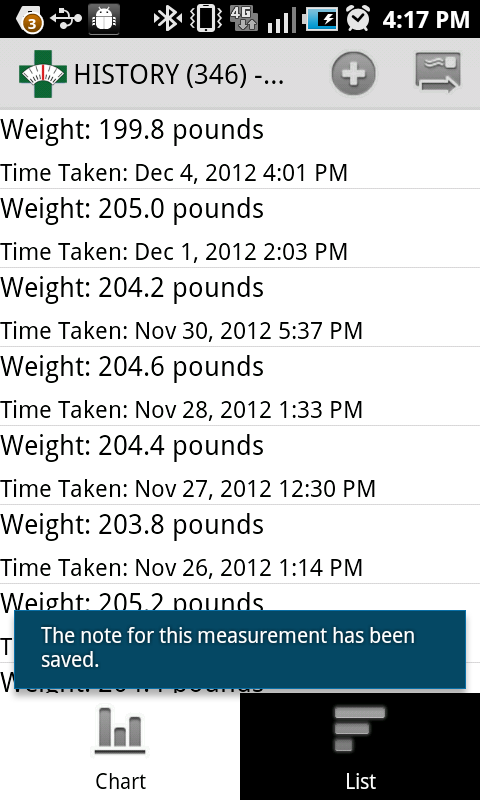
Tap the menu item to remove a measurement, as shown in Figure 32 below.
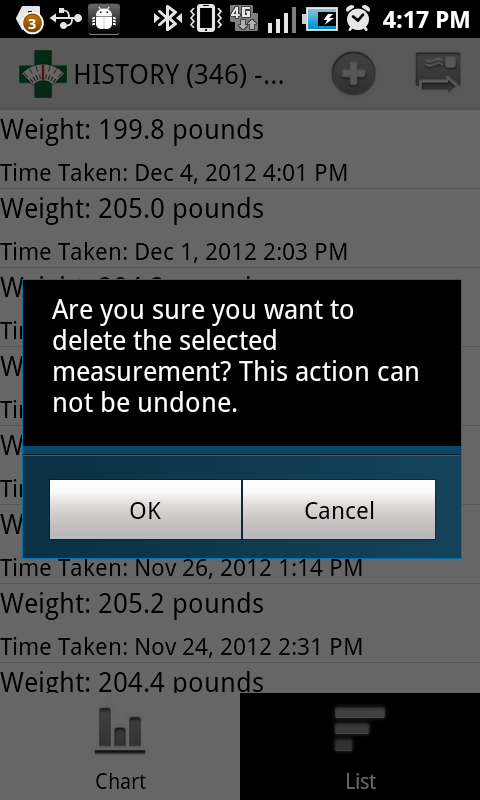
A confirmation prompt will appear as shown in Figure 33 below. Tap OK to delete the measurement. This action is permanent: deleted measurements can never be recovered.
The measurement will be permanently deleted.
You can also tap the icon ( ) in the top bar to open up the manual measurement recording screen as shown in Figure 18 above.
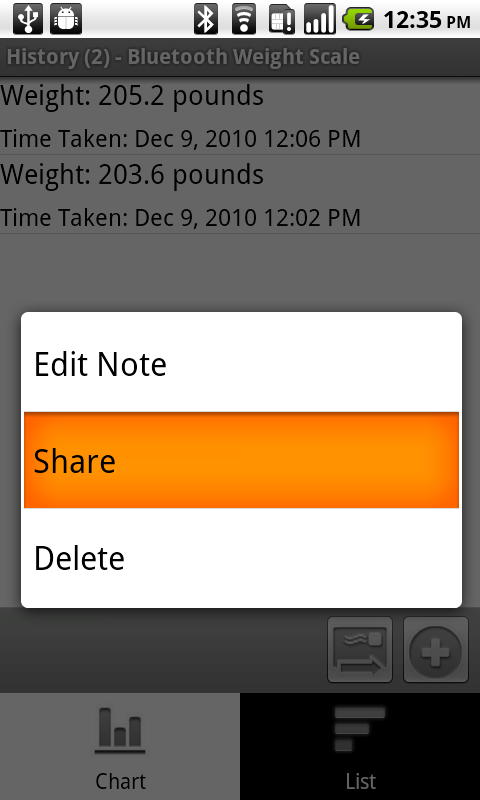
Tapping the menu item will open up the Android share menu, similar to what is shown in Figure 35 below.
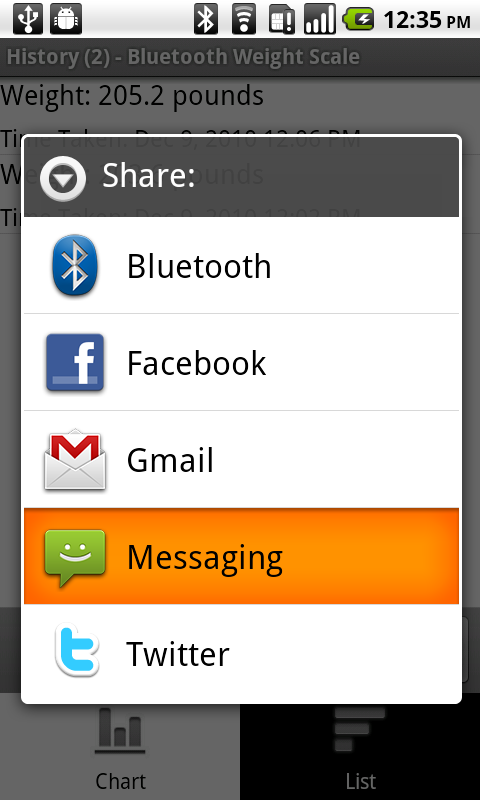
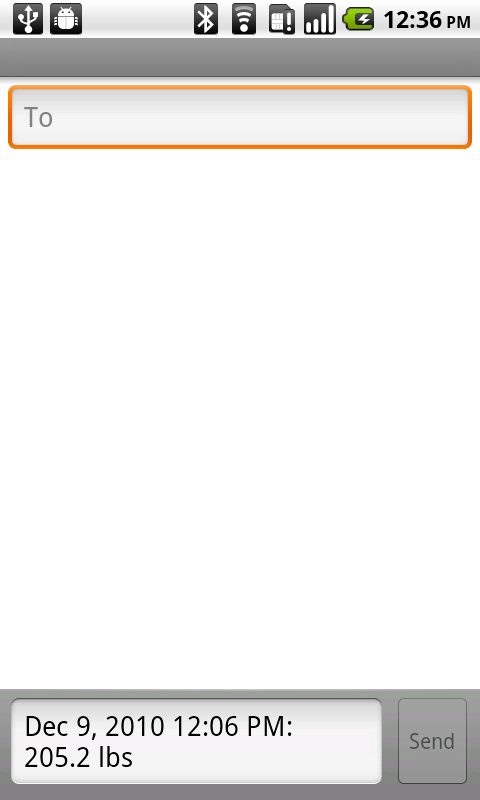
Select the desired share option and it will be passed the measurement data, as shown in Figure 36 below.
To send all measurements by email tap the button ( ) at the bottom of the screen. This will open up the Android share menu as shown in Figure 37 below.
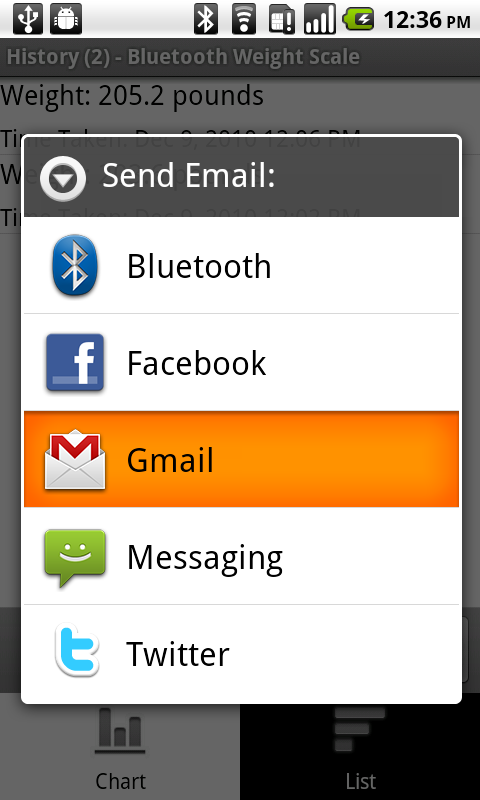
Tap Gmail to email all measurements: it will open up a new email message with an attachment as shown in Figure 38 below. You can then enter the recipient(s) email address(es), edit the body of the email and send the file.
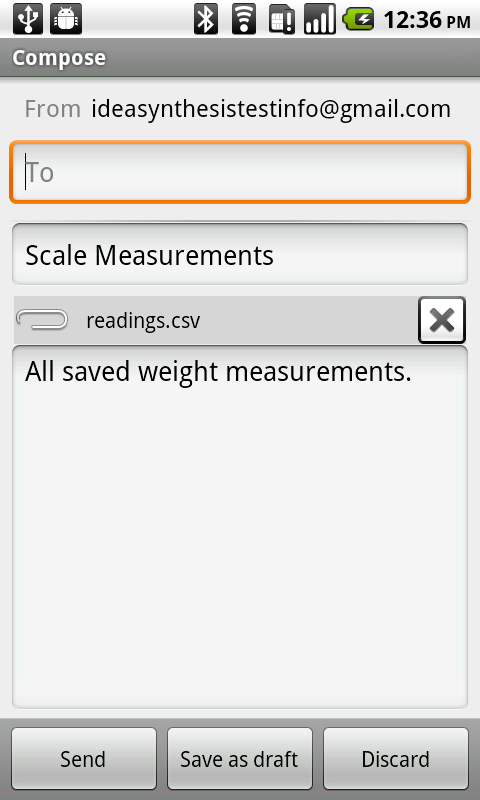
The attachment is a comma-separated values (CSV) file that can be opened up in Microsoft® Excel® or Google® Docs, and will include the time the measurement was saved by the Android device, the weight value and all other measurements and information that were reported by the scale (for the BC-590BT this includes total body fat, muscle mass, and a large number of other measurements; see the relevant manual for full details), the note that was attached (if any) and information about the specific weight scale that the measurement was taken from; this last bit of information is useful to be able to separate out measurements that may be saved from multiple weight scales to the same Android device.
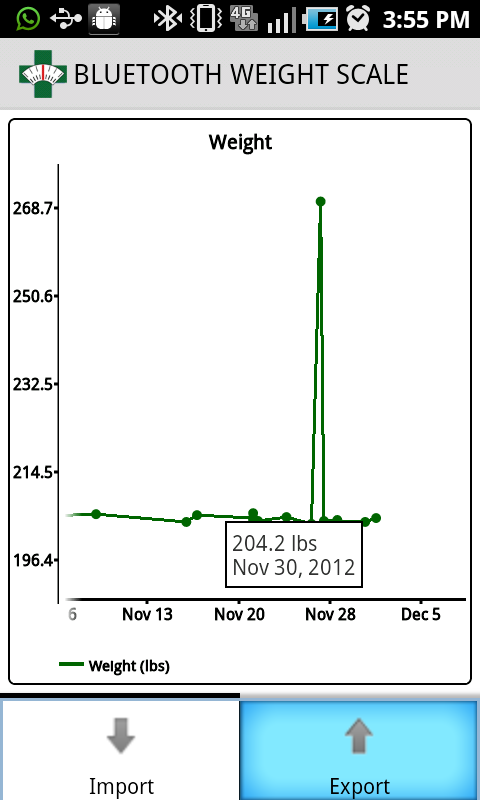
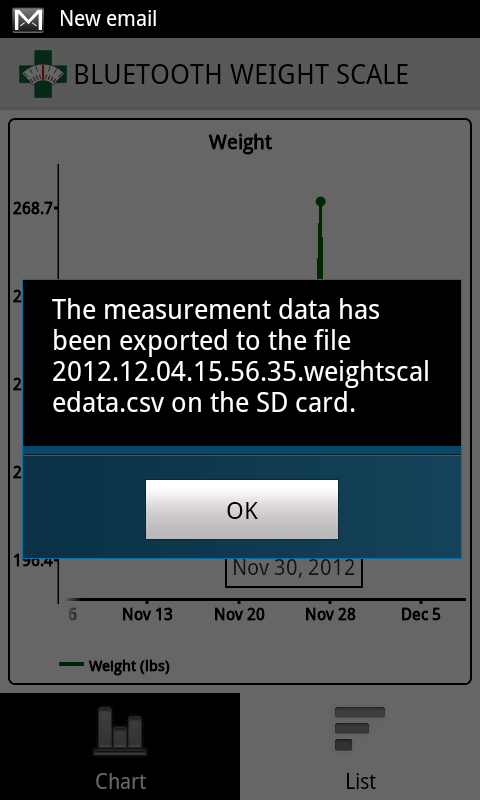
Tap Export to export the data. A new export data file will be created in the top level of the SD card with all the data saved to it. The name of the file will be displayed as shown in Figure 40 below. The export data file will have the date and time saved into the name and will have a suffix of weightscaledata.csv, and this file can be copied off the SD card and stored elsewhere for safekeeping or transferred to another Android device.
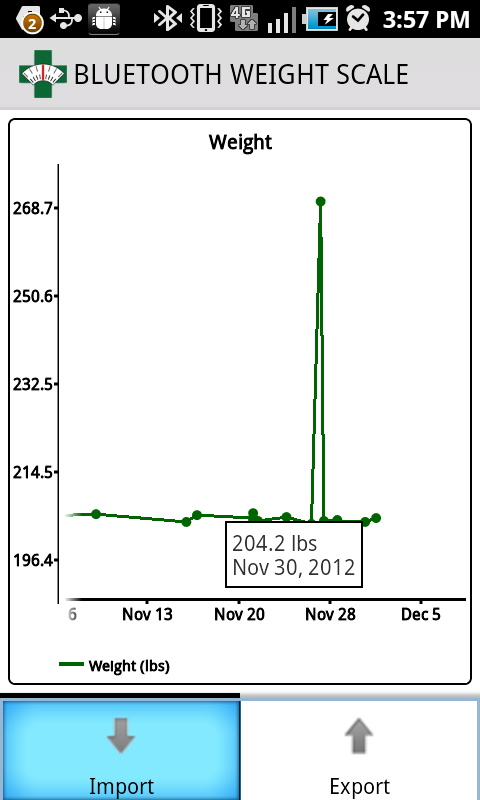
To import an export data file, copy the file to the top level of the SD card and then select the Import option from the History chart view menu as shown in Figure 41 below.
The application will search the top level of the SD card for all files named with the same suffix weightscaledata.csv and will display a list of possible data files as shown in Figure 42 below.
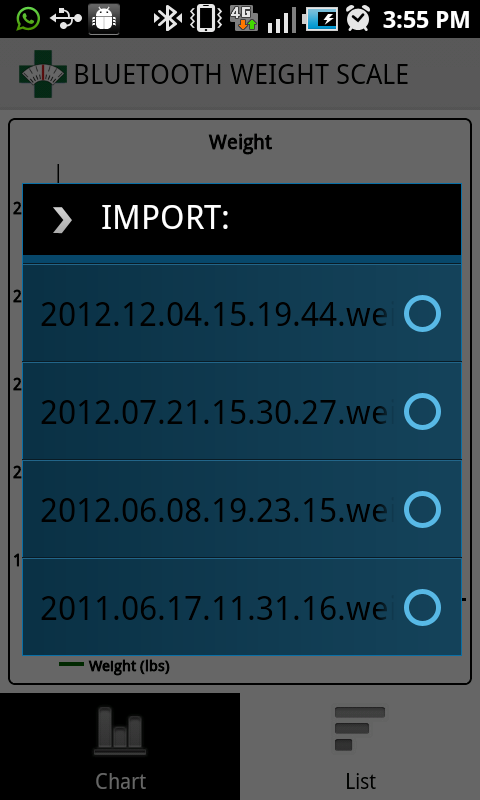
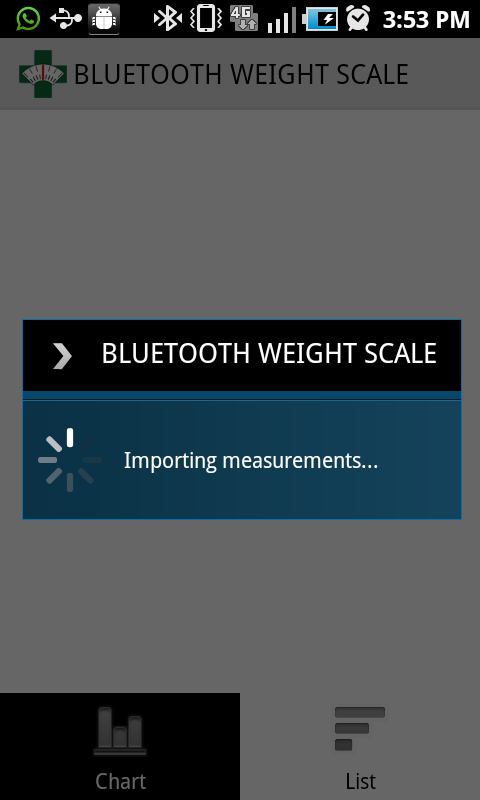
Tap the desired file to select it and start the import process as shown in Figure 43 below.
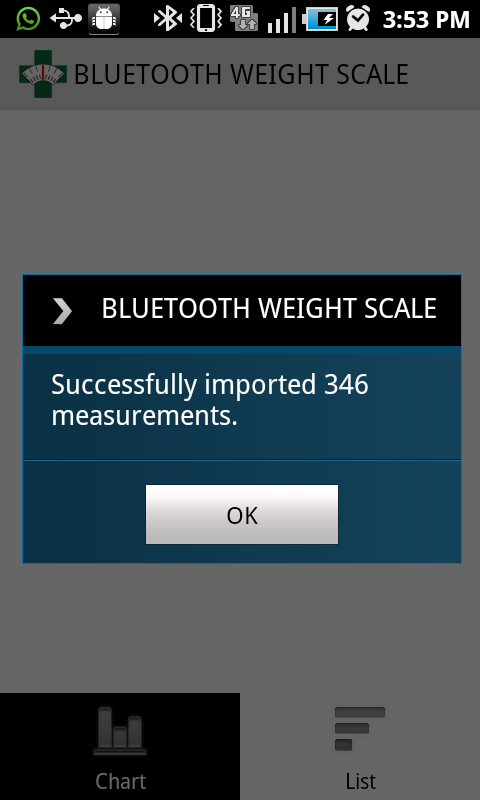
Once the import is completed a confirmation will show with the number of measurements imported as shown in Figure 44 below. Tap OK to refresh the chart and show the newly imported data.
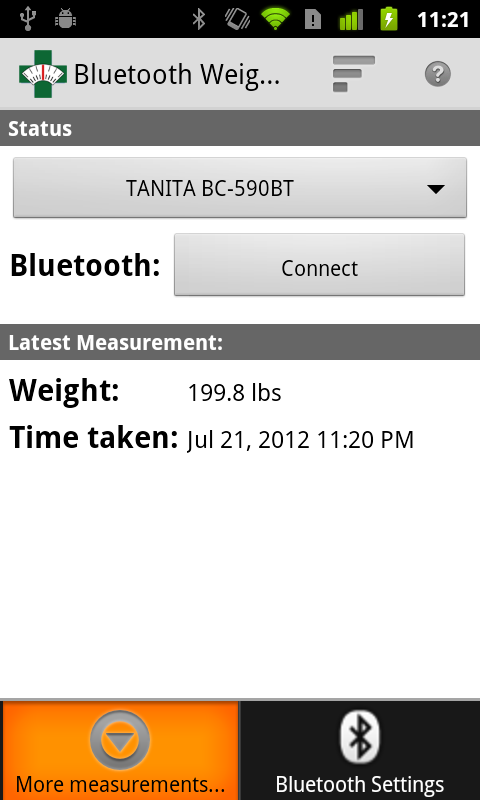
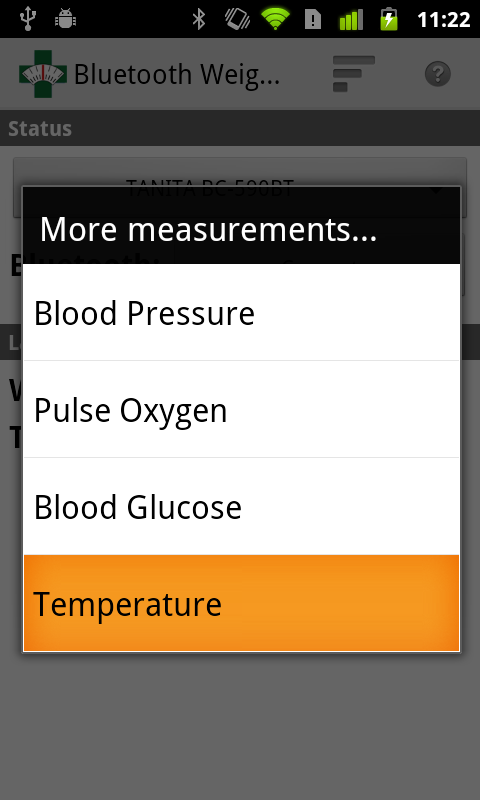
A menu will appear with the additional supported measurement types as shown in Figure 46 below. Tap the desired measurement: as shown below the Temperature option is selected.
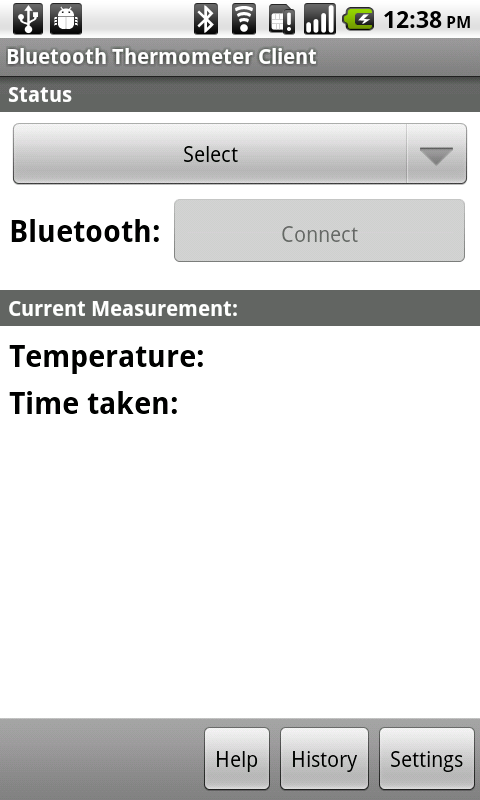
If the application is installed, then it will be launched as shown in Figure 47 below.
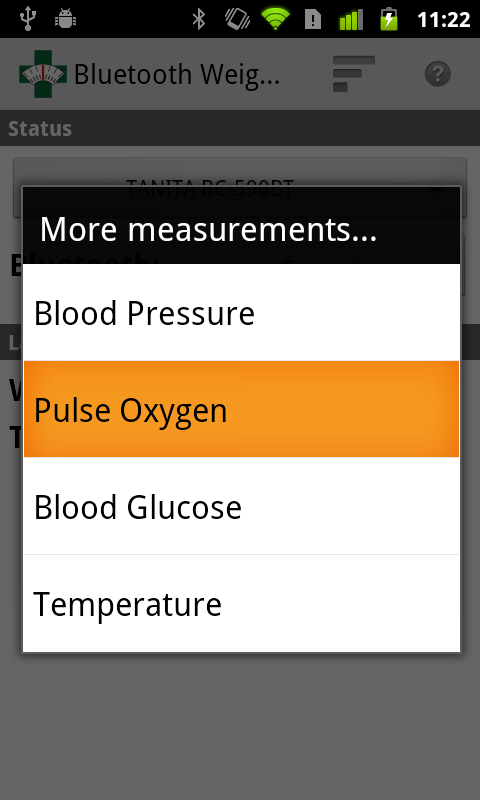
Once the measurement has been recorded in the other application, press the button to return to the original measurement capture screen. You can then take additional measurements as shown in Figure 48 below, where Pulse Oxygen is selected.
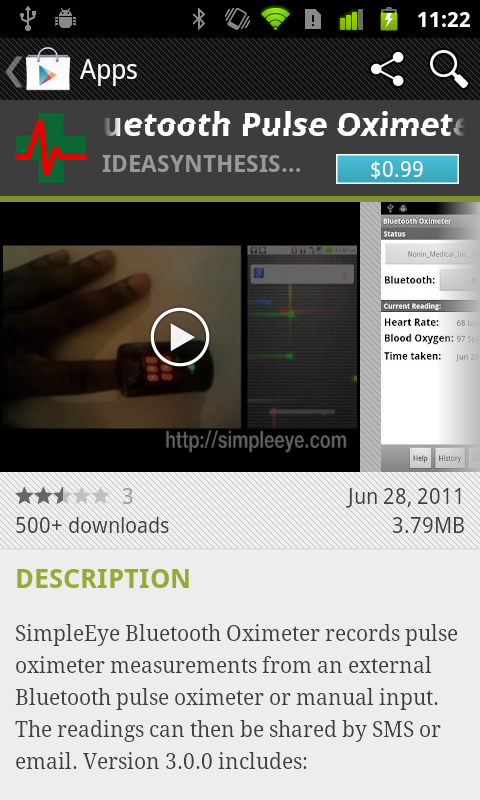
In this case the application is not installed so the Android Market listing is shown as seen in Figure 49 below.
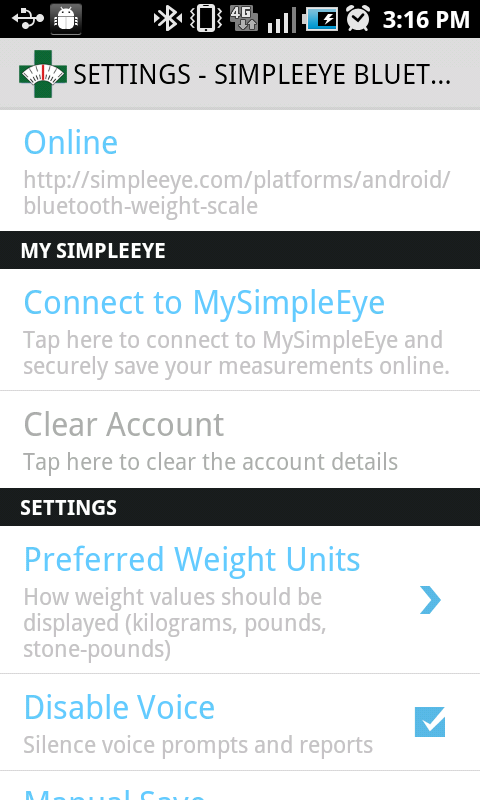
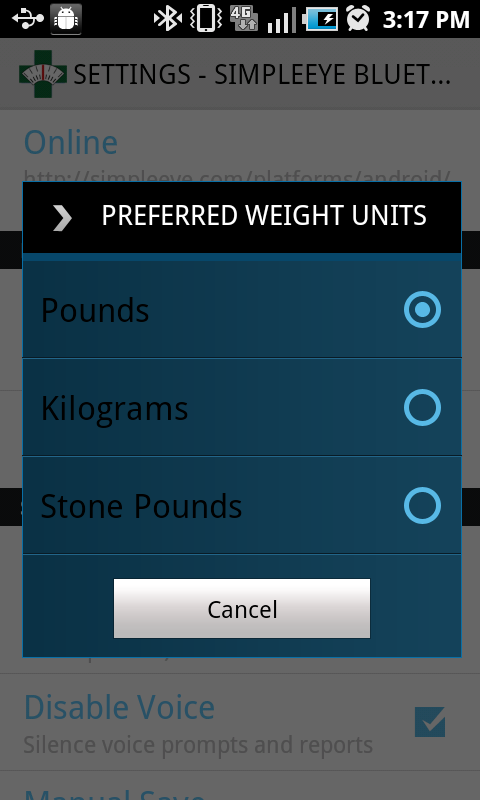
You can change the units the program uses to display weight by tapping the menu item: you will be prompted to select the desired weight units as shown in Figure 51 below.
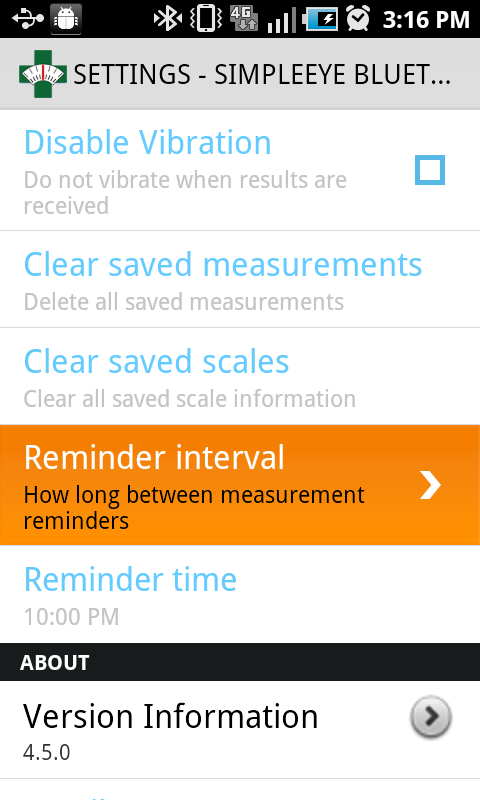
To configure measurement reminders, tap the Reminder Interval item as shown in Figure 52 below.
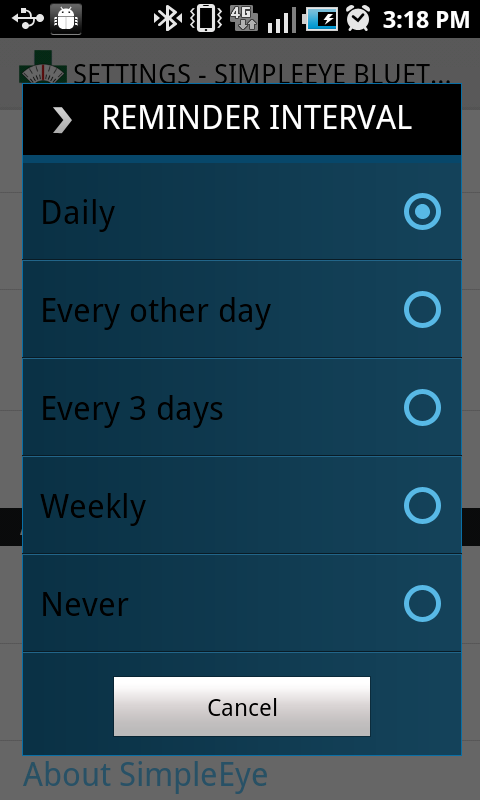
You will then be able to select an interval from the options menu that appears, as shown in Figure 53 below.
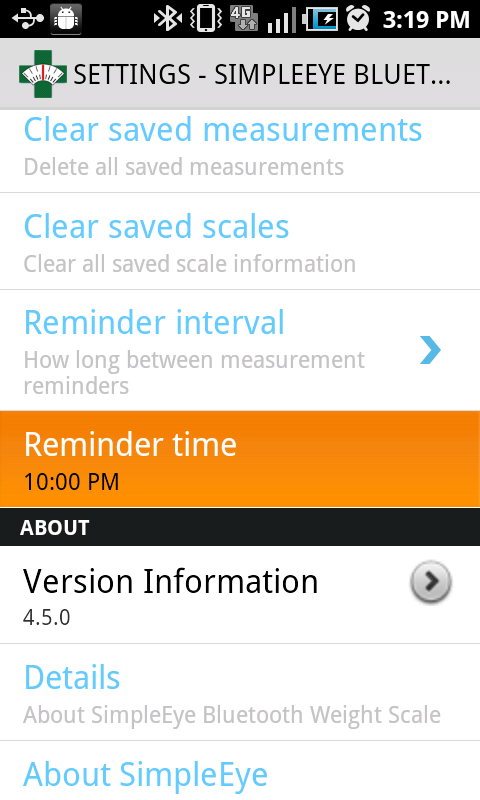
You can also configure the specific time of day the reminder is displayed by tapping the Reminder Time item as shown in Figure 54 below.
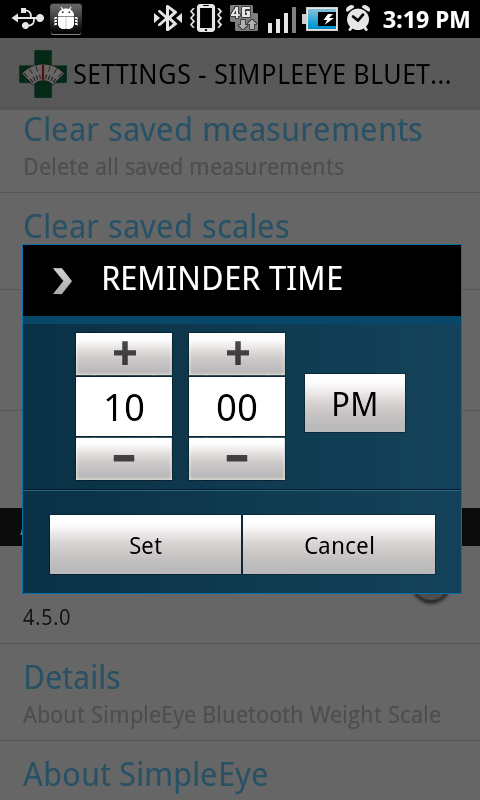
You will then be able to pick a time, as shown in Figure 55 below.
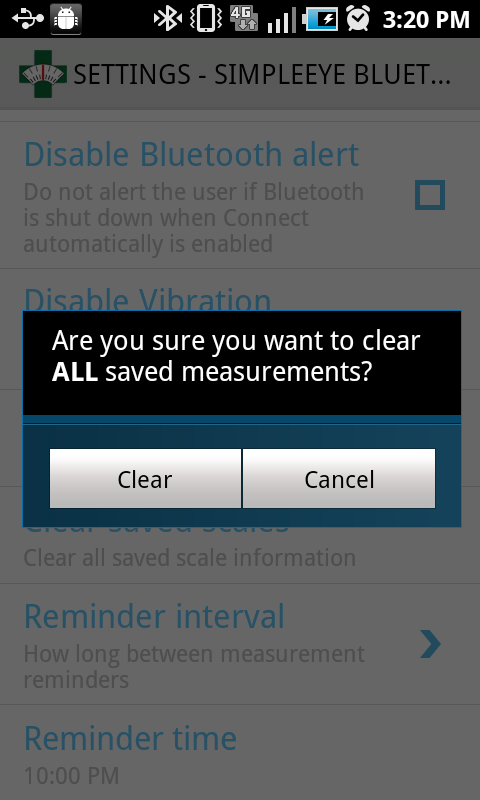
To clear all saved measurements, tap the item: this will prompt you for confirmation as shown in Figure 56 below.
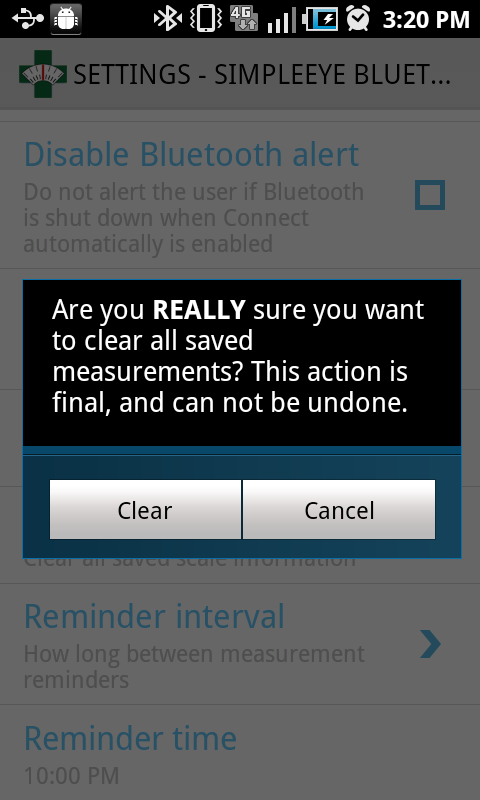
If you tap the Clear button, you will be prompted for confirmation a second time, as shown in Figure 55 below.
If you tap the Clear button a second time then the measurements will be deleted. This action is permanent: deleted measurements can never be recovered. After the deletion is done the item will be disabled, as shown in Figure 58 below.
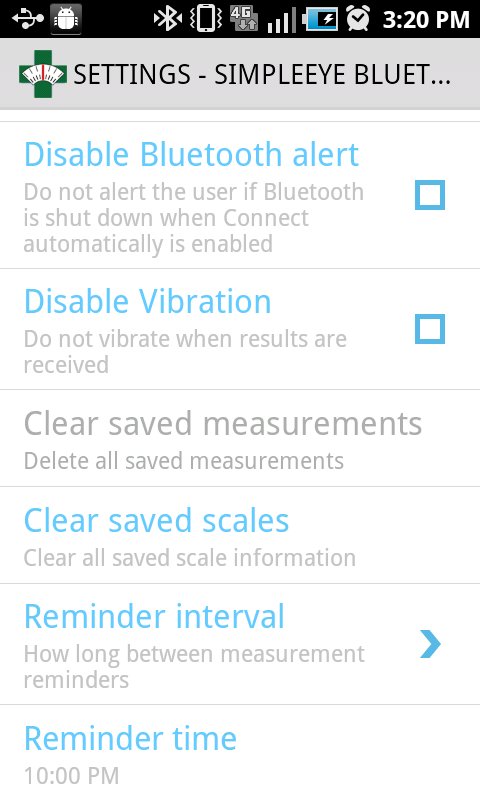
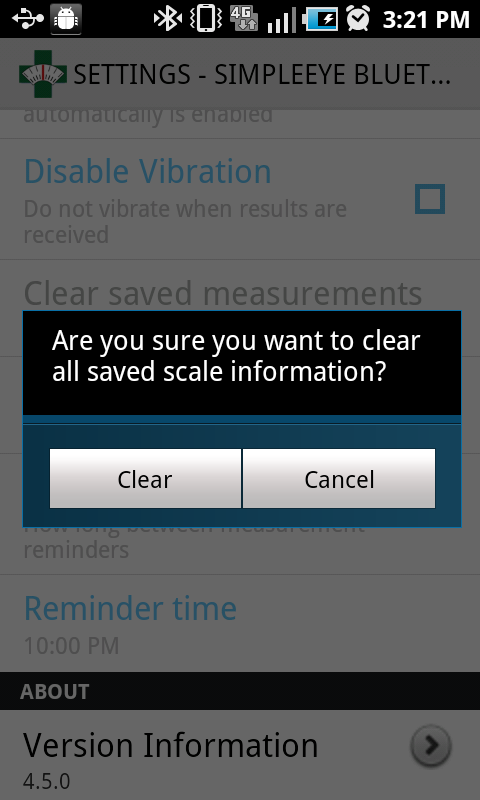
To clear all saved weight scale information, tap the item: this will prompt you for confirmation as shown in Figure 59 below.
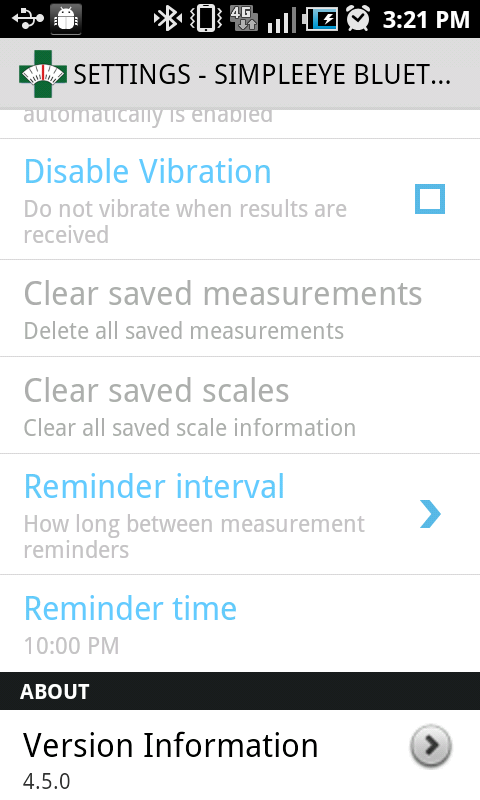
If you tap the Clear button, all saved scale details will be removed. Next time a scale is connected its details will be saved once again. After the scale details are cleared, the item will be disabled, as shown in Figure 60 below.
Additional options allow manual saving of measurements by setting or clearing the appropriate checkbox.
You can then open the notification panel to see the full detail as shown in Figure 60 below. Tapping on the notification will open the application.
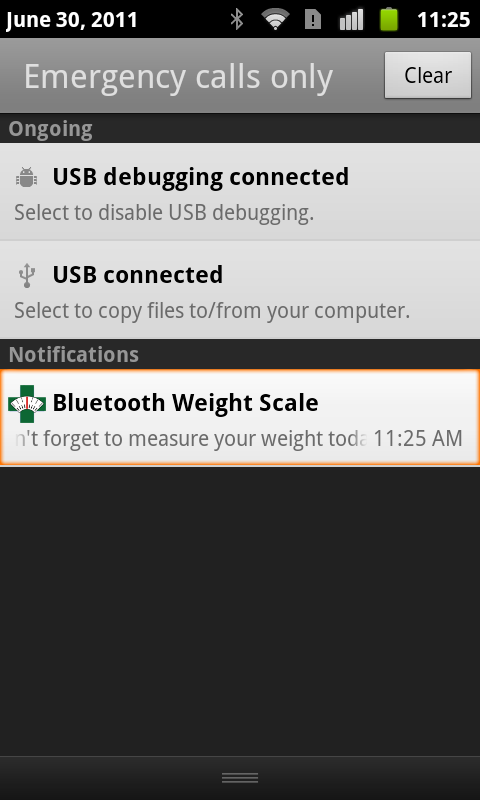
By default notifications are sent if it has been more than 1 day since your last measurement: the reminder interval can be changed as discussed above.
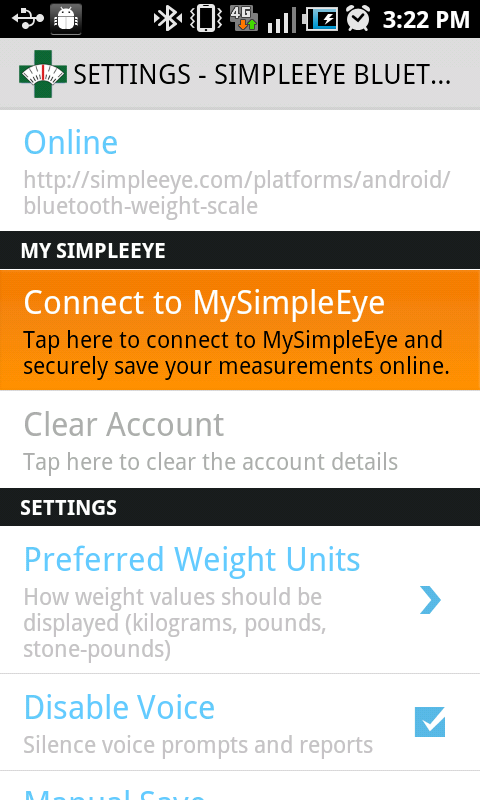
The MySimpleEye account creation screen will appear as shown in Figure 64 below. If you already have an account, you can tap the Already have an account? link and log in with your email address and password.
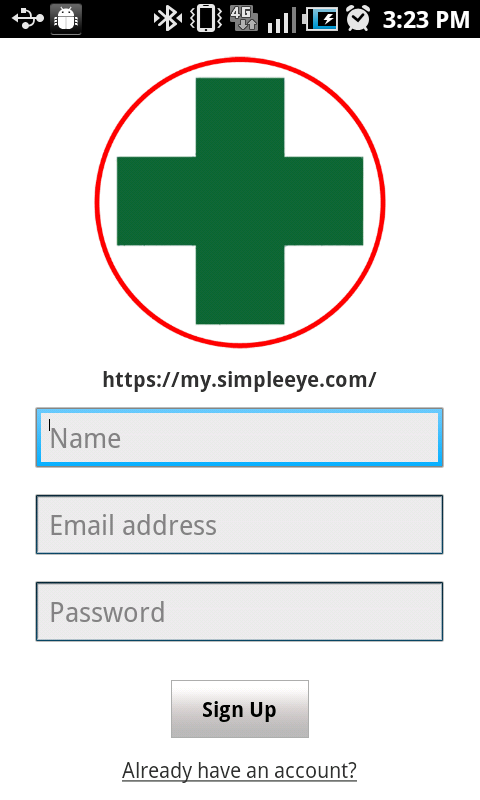
Enter a name, email address and password as shown in Figure 65 below to create an account, then tap the Sign Up button. Your Android device will need to be connected to the Internet to complete this step.
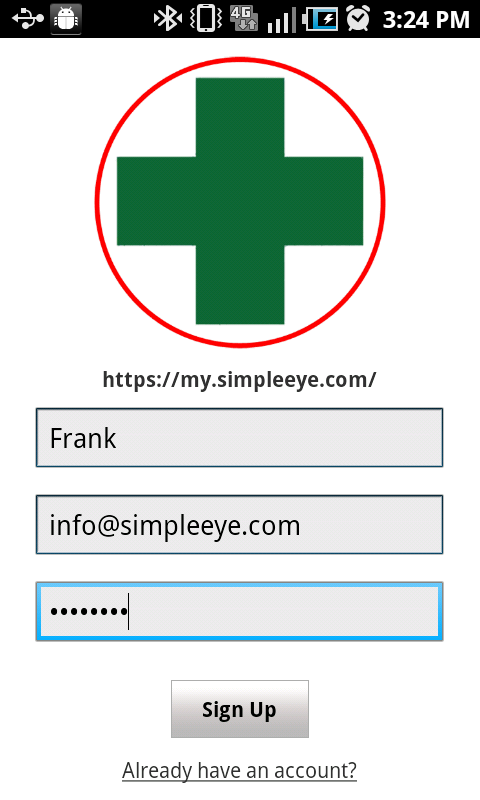
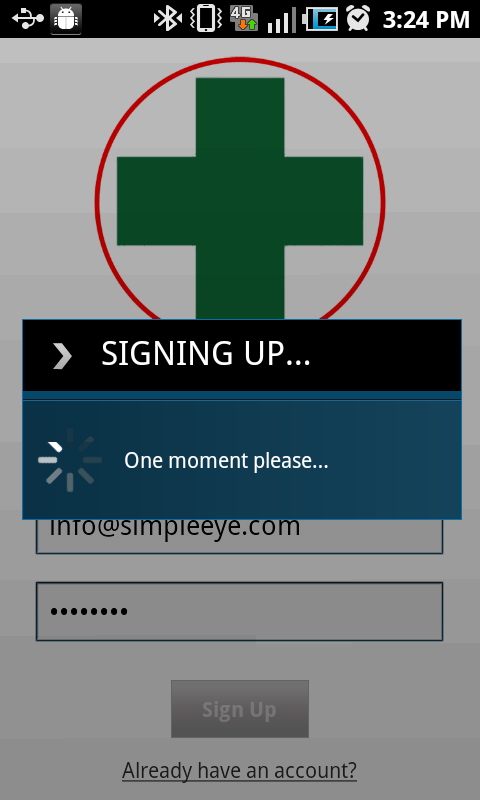
The sign up process will begin, as shown in Figure 66 below.
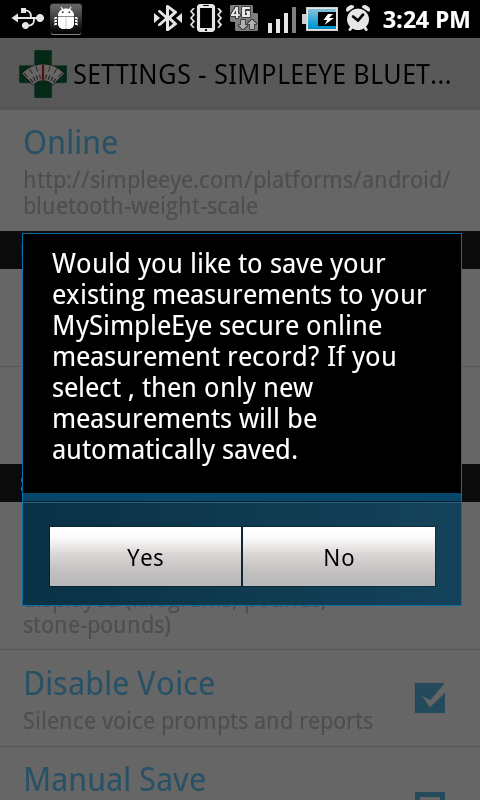
Once you’ve signed up, you’ll be prompted to save your existing measurements as shown in Figure 67 below. You will be prompted every time you create a new account or log into your existing account. The save will not create duplicate measurements. Any new measurements you take will be automatically synchronized with the secure online measurement record at https://my.simpleeye.com/, and you will be able to log in using your computer or tablet (or phone) browser from any computer and review your measurements.
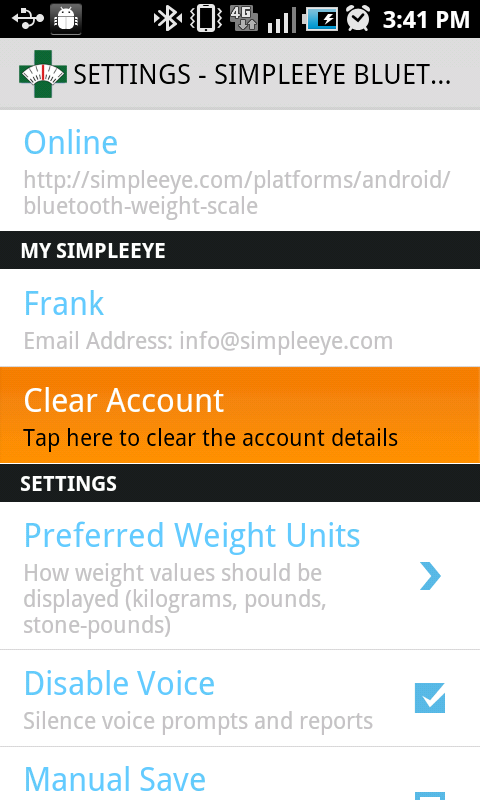
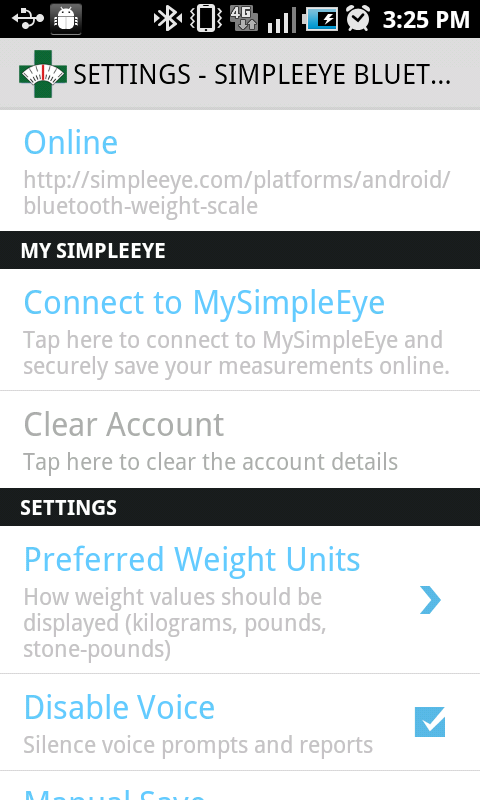
At any time you can tap the item (as shown in Figure 68 below) to clear the MySimpleEye account information.
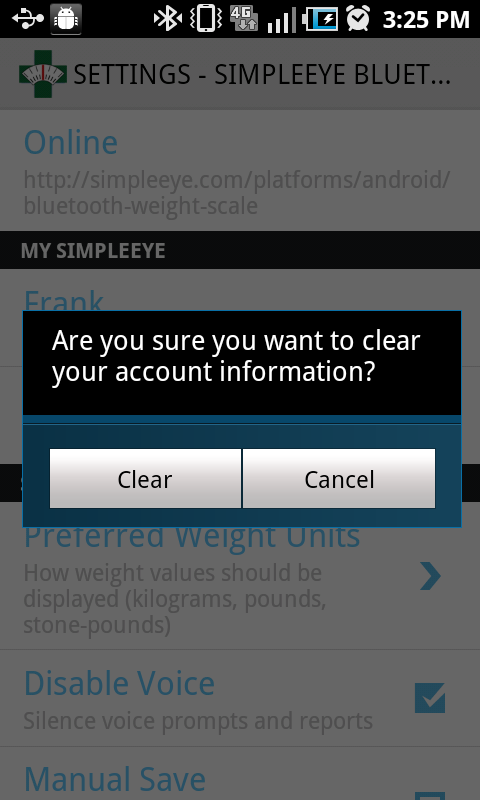
You’ll be prompted to confirm the action as shown in Figure 69 below.
Once you confirm, the item will be disabled as shown in Figure 70 below.
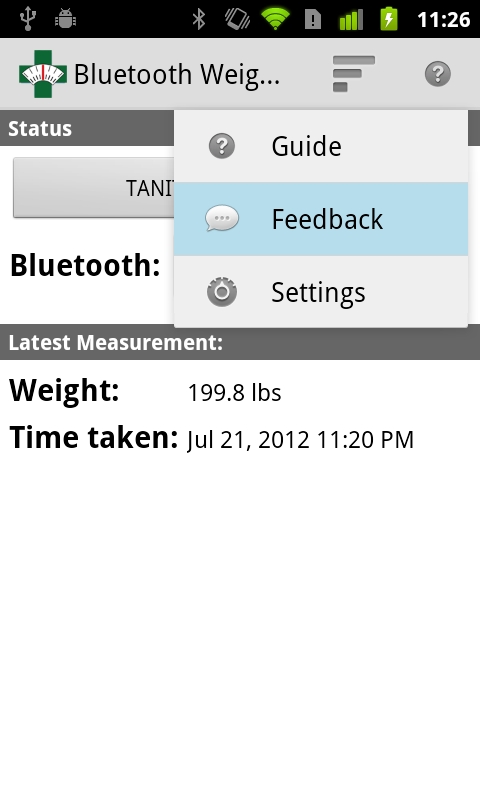
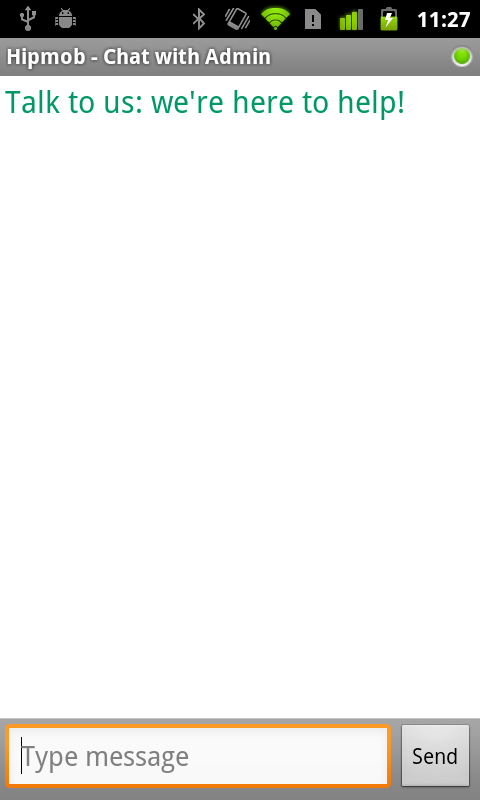
This will open up the live support chat: once it connects you can immediately start typing your feedback. If an agent is currently online, they will immediately respond: if no agent is online right then an email will be automatically sent with your comments.
Thank you!