Using SimpleEye Google Health Sync
Thank you for using SimpleEye Google Health, the quick and easy way to link health and fitness measurements collected on your Android device to your Google Health personal health record. Help information can be viewed at any time by clicking on the Help button on the bottom of the application.
Please let us know what you think! Provide us feedback about the software, tell us about features you’d like to see, or just say Hi! We want to make this better for you, so please use the feedback option under Settings.
Compatibility

Logging into Google Health
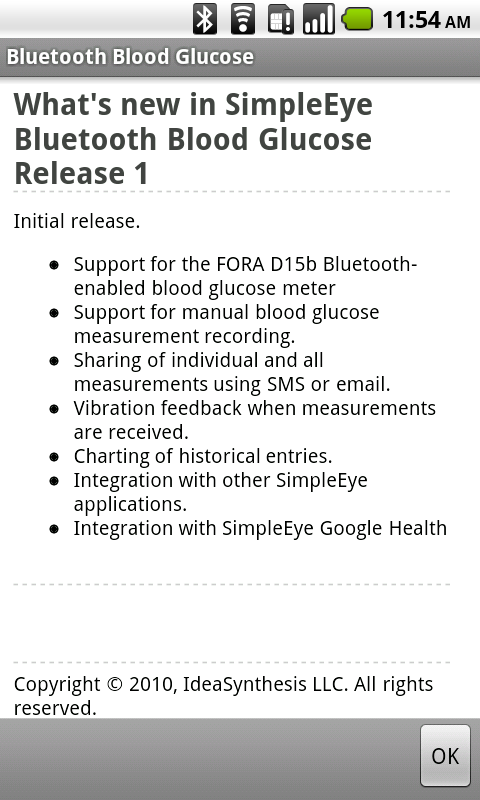
When the application is first started, a list of the changes will be shown as in Figure 1 below.

Figure 1: application changes and new features

Tap OK to close the change log screen. If this is the first time the application is started, the help screen will show as in Figure 2 below.

Figure 2: initial Help screen display

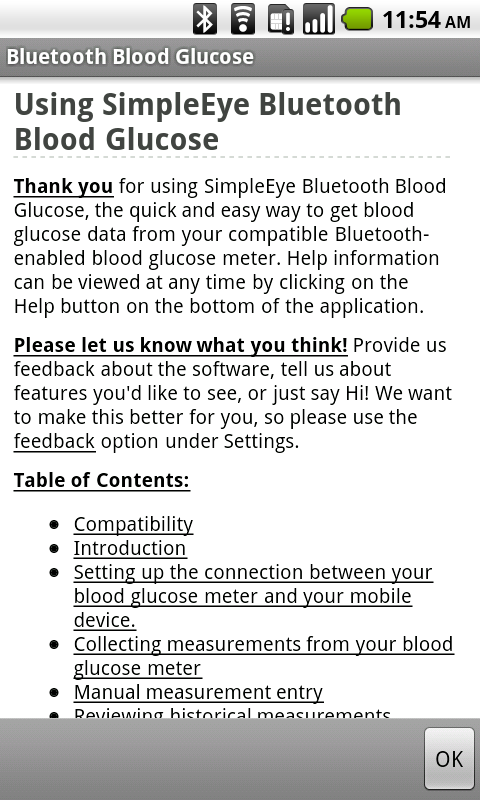
Tap OK to close the help screen: you can tap the Help button at any time to access this screen. If this is the first time the application is started, the dialog shown in Figure 3 below will appear, indicating that you will need access to a Google Health account.

Figure 3: Google Account initial prompt

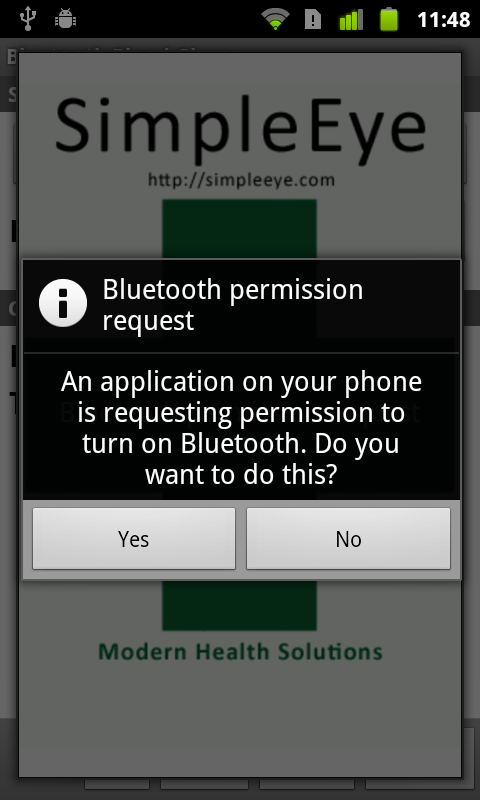
Tap OK to move on to the next step.
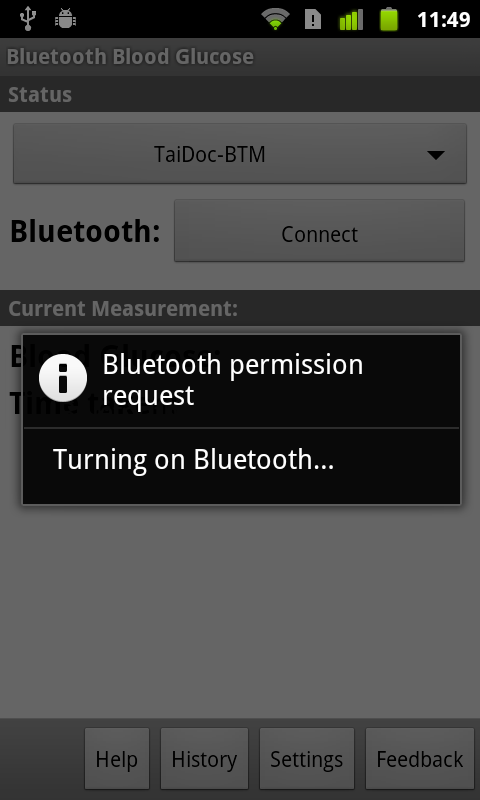
SimpleEye Google Health uses the Google Account information configured on your Android device: you will never have to enter your username and password a second time. If no Google Account has been configured on your Android device, a prompt will appear as shown in Figure 4 below, otherwise you will see a prompt similar to Figure 7 below.

Figure 4: no Google Accounts were found

If prompted because no account has been configured on your Android device, tap OK to configure one now. Tap Cancel if you want to do this later: the application will exit.

If you tap OK, the Accounts setting screen will open up as shown in Figure 5 below.

Figure 5: Accounts and sync settings

Tap the Add Account button and follow the instructions to configure your Google Account. Once the account is completely configured it will be shown in the account list as seen in Figure 6 below. Press the Back button to return to the application.

Figure 6: configured account.

Once one or more accounts have been configured, a list of accounts will appear as shown in Figure 7 below.

Figure 7: available Google Accounts

Tap the desired account to select it. If this is the first time this account has been selected, a prompt will appear as shown in Figure 8 below to confirm that access to the account should be granted.

Figure 8: account access confirmation prompt

If you select Deny, the prompt shown in Figure 9 below will appear. Tap Cancel to exit the application and configure the application later. Tap OK to start the account selection process all over again.

Figure 9: account access request denied

Once access to the account has been granted, the Google Health profiles for the selected account will be retrieved as shown in Figure 10 below.

Figure 10: retrieving Google Health profiles

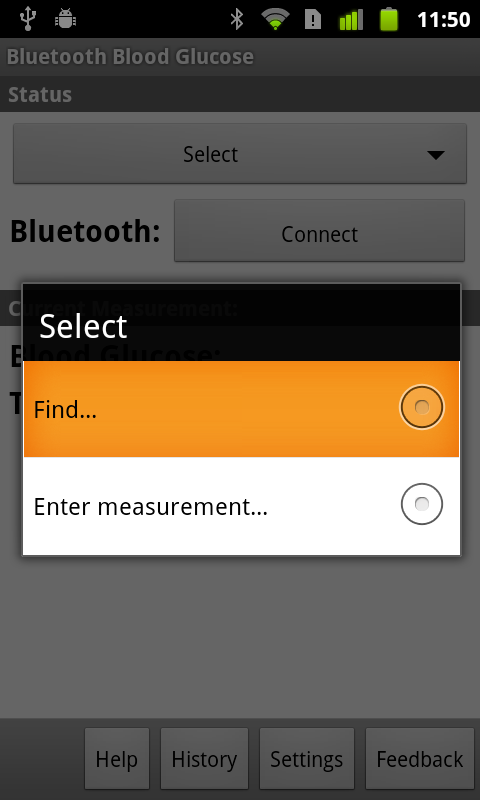
If multiple profiles are available, a prompt to select the desired profile will appear as shown in Figure 11 below: tap the desired profile to select it. If only a single profile is available, it will be automatically selected.

Figure 11: Google Health profile selection

A confirmation will be displayed as shown in Figure 12 below.

Figure 12: account and profile confirmation

The Google Health synchronization schedule will be initially set to daily: this can be changed from the Settings screen as discussed below.

Storing measurements in Google Health

Once the account and profile have been configured, a list of the supported measurements will be shown: each measurement type can be enabled or disabled using the associated checkbox as seen in Figure 13 below. Status information for each measurement type is shown on the screen: the last synchronization time for that measurement type, the number of measurements that have been synchronized, and the total number of measurements available.

Figure 13: supported measurement types

Tap the Menu button to show the application menu as shown in Figure 14 below.

Figure 14: application menu

Tap Synchronize Now to synchronize the measurements with Google Health right now. The synchronization process will start as shown in Figure 15 below.

Figure 15: synchronization in action

Progress information will be shown on the top of the screen as seen in Figure 16 below. This updates as each set of measurements is synchronized.

Figure 16: progress information

Once the synchronization process is complete, the status information will be updated as shown in Figure 17 below.

Figure 17: updated measurement status information

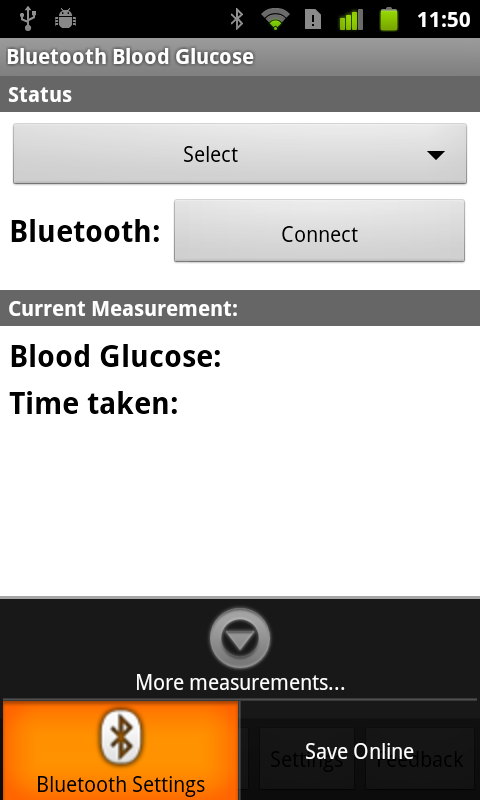
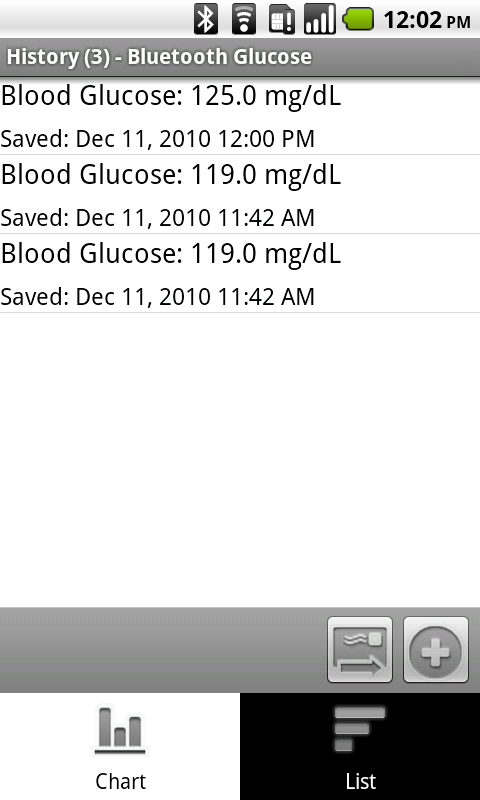
To take a measurement right now, tap the Take Measurement button for the particular measurement type as shown in Figure 18 below.

Figure 18: taking a measurement

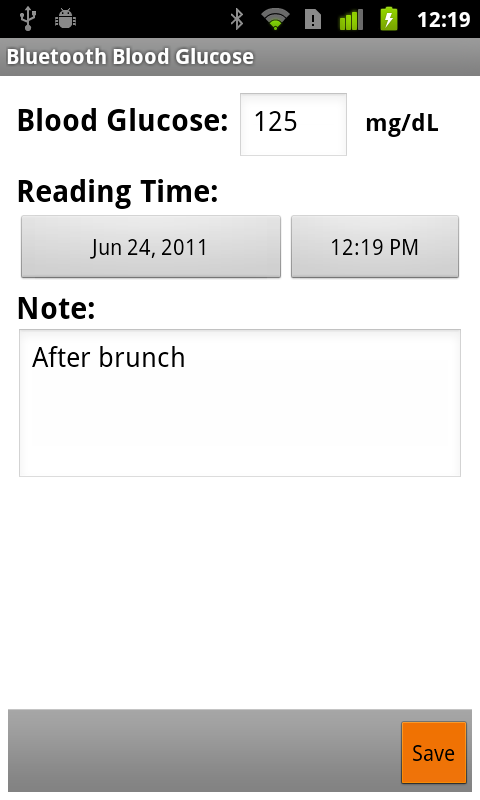
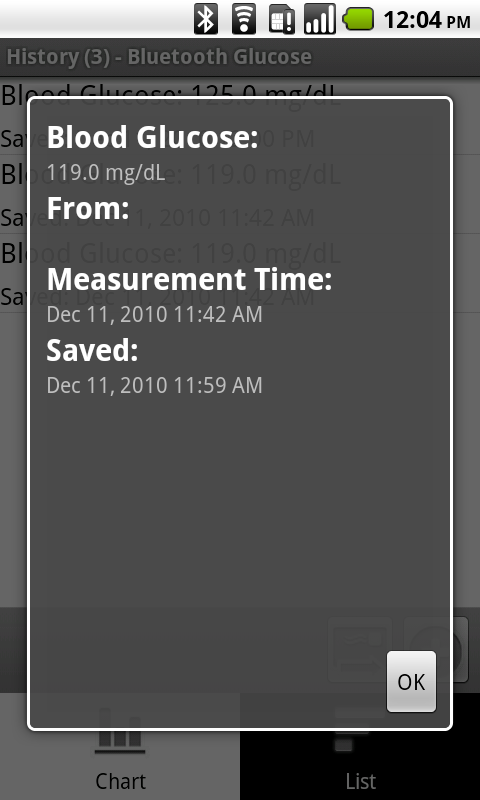
If the application for that measurement type is installed it will be opened as shown in Figure 19 below: the measurement can then be taken.
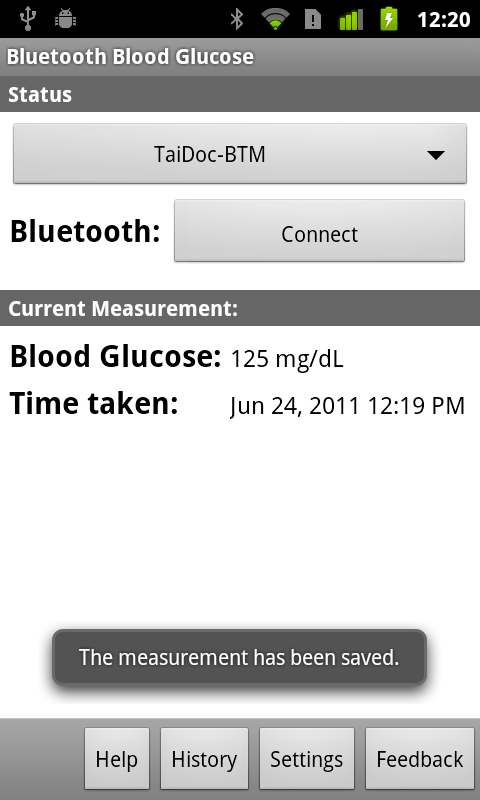
Figure 19: opening an installed measurement application

Once the measurement is taken, tap the Back key to return to the main SimpleEye Google Health screen. You can then take another measurement by tapping a different measurement type’s Take Measurement button as shown in Figure 20 below.

Figure 20: taking a different type of measurement

If the application for that measurement type is not installed, the Android Market page for the application will be opened as shown in Figure 21 below. The application may then be installed.

Figure 21: measurement application Android Market page
Application settings and information

Tapping the Settings button in the main screen will open the Settings screen that shows the currently selected Google Account and Google Health profile, and the next scheduled synchronization time as shown in Figure 22 below.

Figure 22: Settings screen

To change the current Google Account or Google Health profile, tap the Clear Authentication Information option as shown in Figure 23 below.

Figure 23: Clear Authentication Information

. A confirmation prompt will appear as shown in Figure 24 below. Tap OK to confirm it and clear the Google Account and Google Health profile settings.

Figure 24: Clear Authentication Information confirmation

To remove all the synchronized measurements from Google Health, tap the Remove All option as shown in Figure 25 below.

Figure 25: remove all measurements from Google Health

A confirmation prompt will be shown as seen in Figure 26 below.

Figure 26: confirm remove all measurements

Tap OK to proceed. A final confirmation will appear as shown in Figure 27 below.

Figure 27: final confirmation to remove all measurements

Tap OK to remove all measurements sent from this device to Google Health. Once the process is complete a confirmation will appear as shown in Figure 28 below. If the measurements removed are no longer present on the device then they will be gone forever.

Figure 28: all measurements have been removed

Options are also available to resend all measurements and to adjust the automatic synchronization interval as shown in Figure 29 below.

Figure 29: automatic synchronization interval settings

Available intervals include never (manual synchronization only), hourly, every other hour, every 3 hours, twice daily, daily, every other day, or weekly as shown in Figure 30 below.

Figure 30: automatic synchronization intervals
Sending Feedback

We really want to hear from you about errors you encounter, features you would like to see or suggestions on how to improve the user interface. To send us feedback, scroll to the bottom of the Settings screen and select the Feedback item, as shown in Figure 31 below.

Figure 31: selecting the Feedback option

Enter an email address (this is required, so we can get back to you about your requested change) and your comments and press the Submit button as shown in Figure 32 below to send it.

Figure 32: sending feedback

Your submission will be confirmed as shown in Figure 33 below.

Figure 33: successfully submitted feedback

Thank you!