- Compatibility
- Setting up the connection between your pulse oximeter and your mobile device
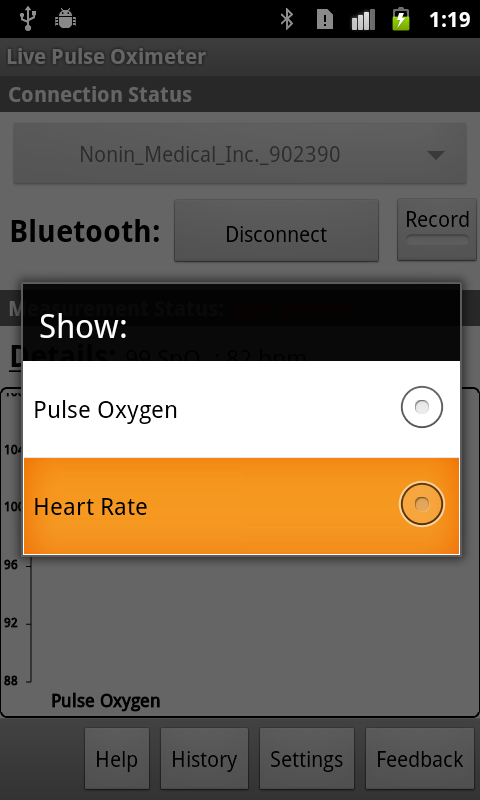
- Viewing live pulse oxygen and heart rate measurements
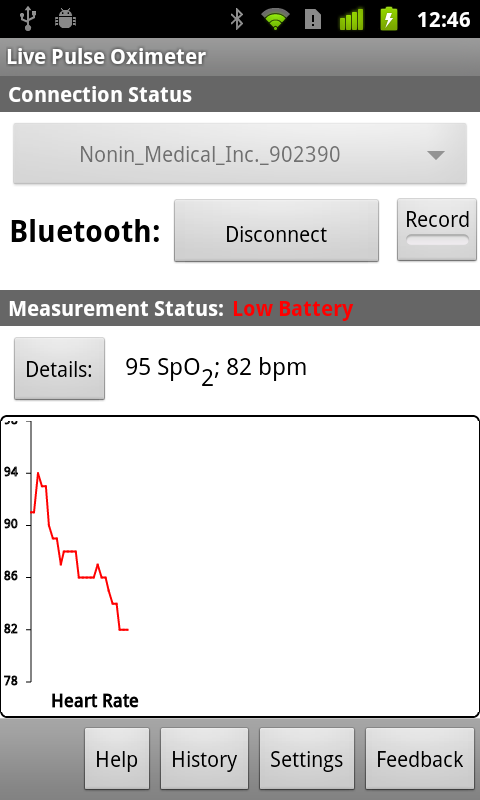
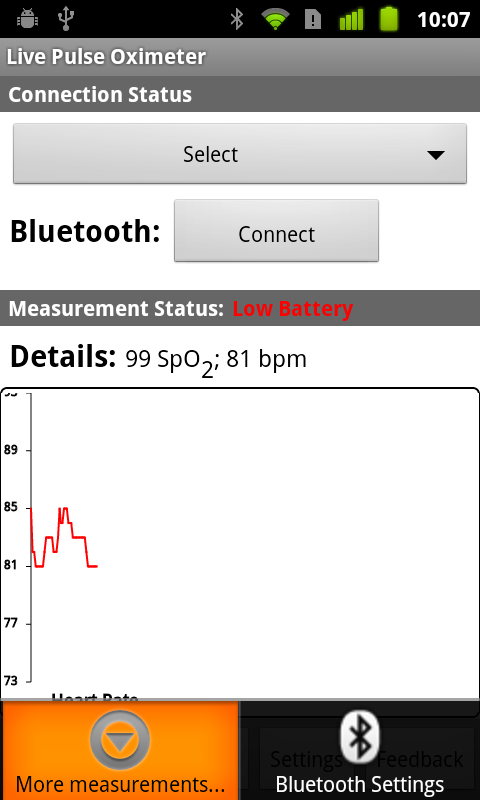
- Low battery status
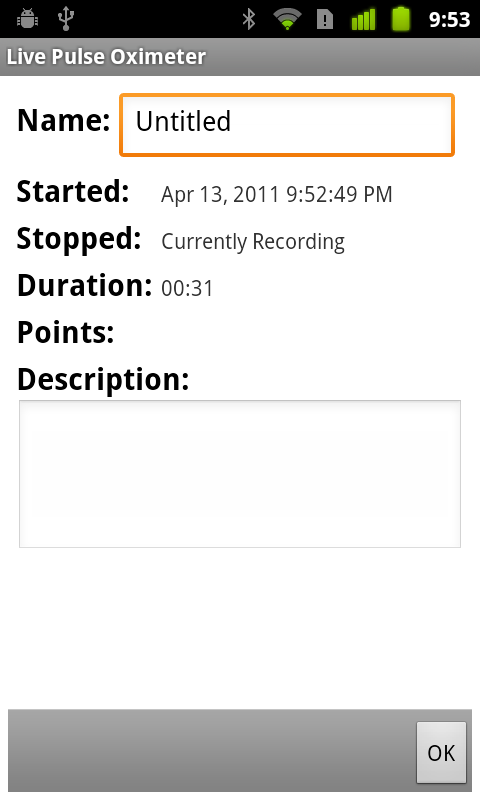
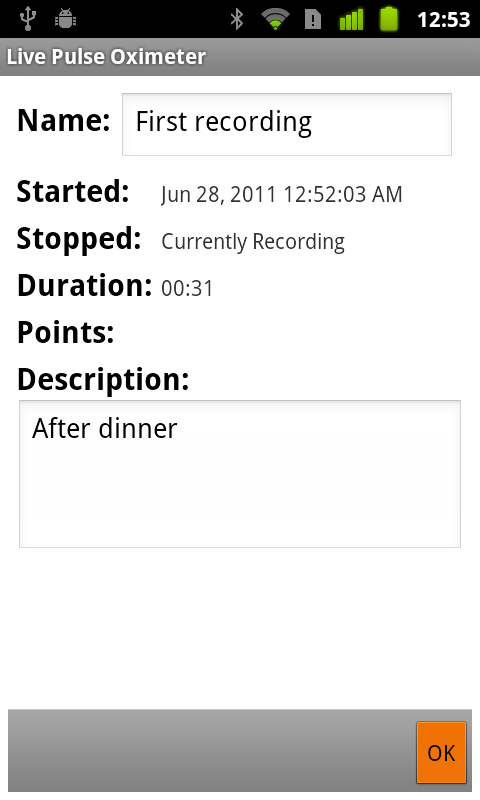
- Recording pulse oxygen and heart rate measurements to a file
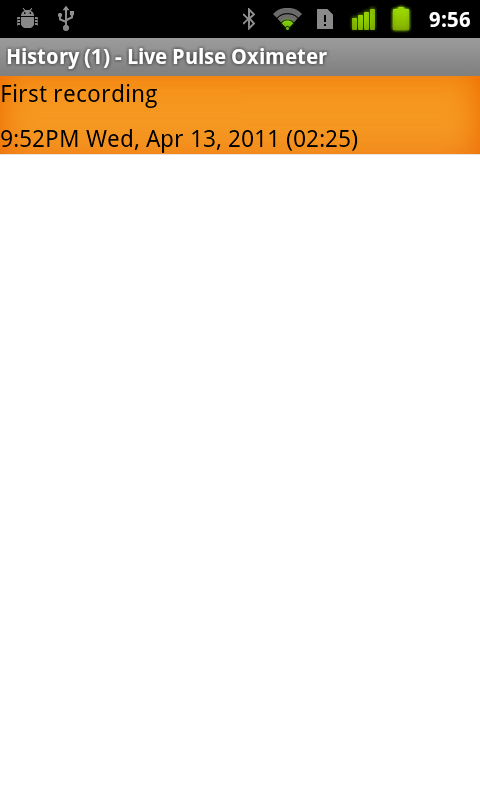
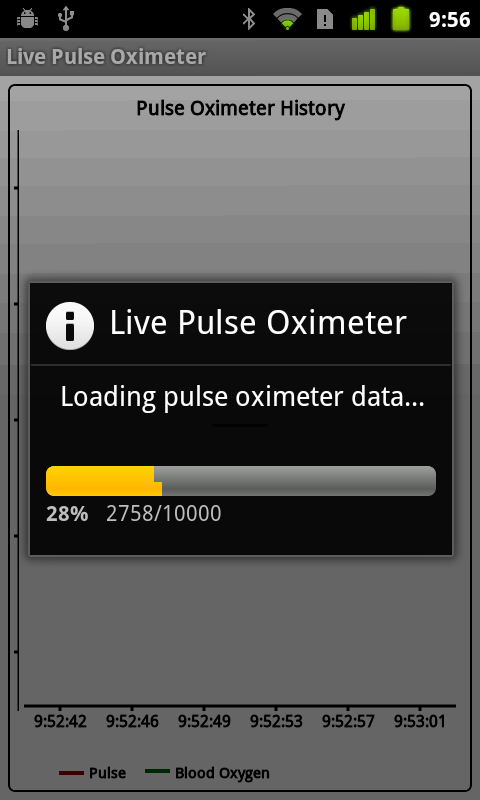
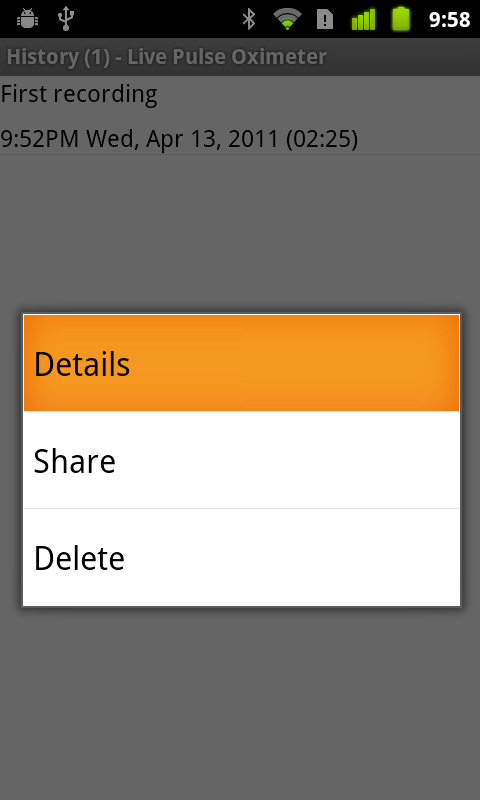
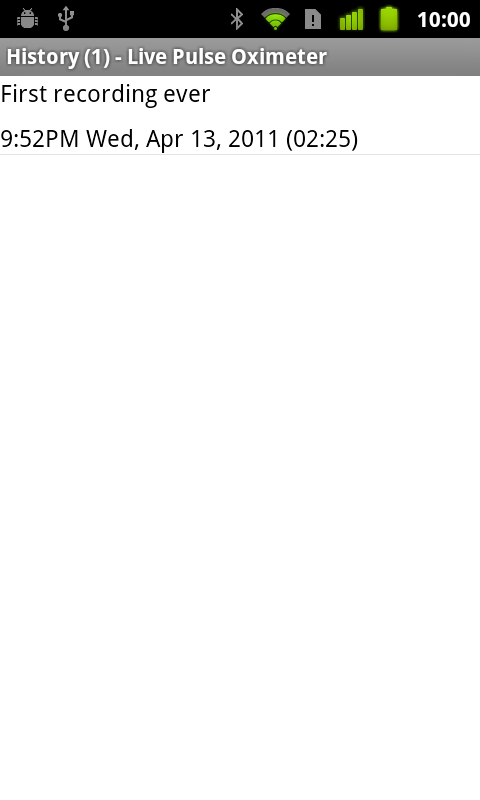
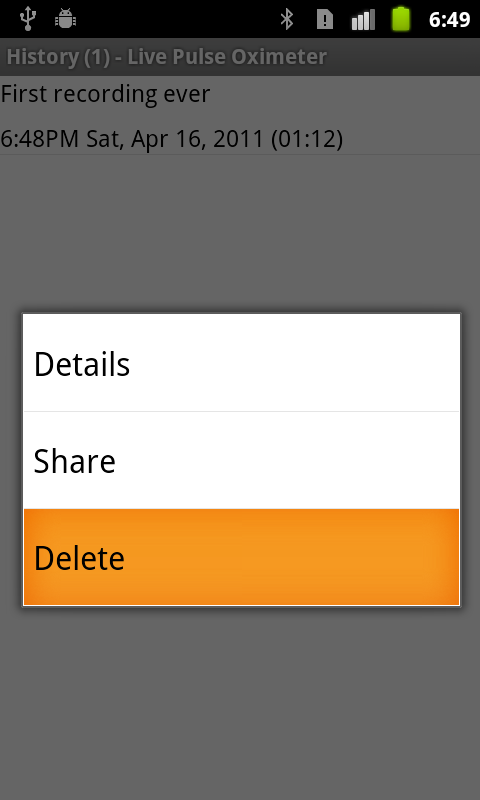
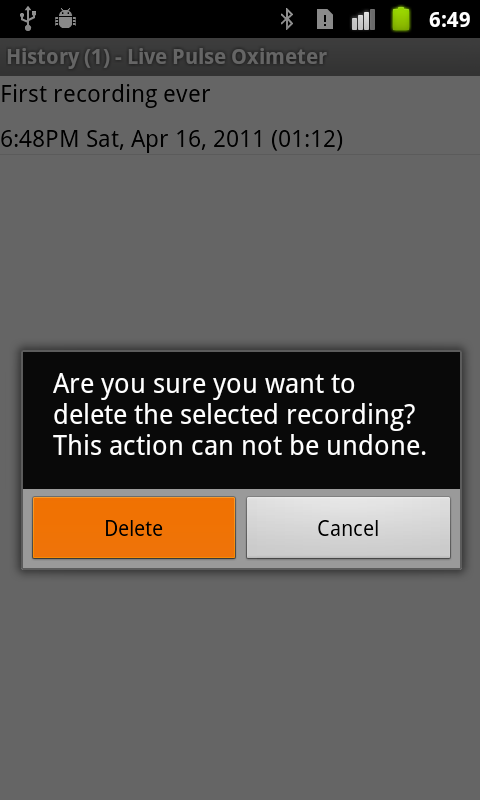
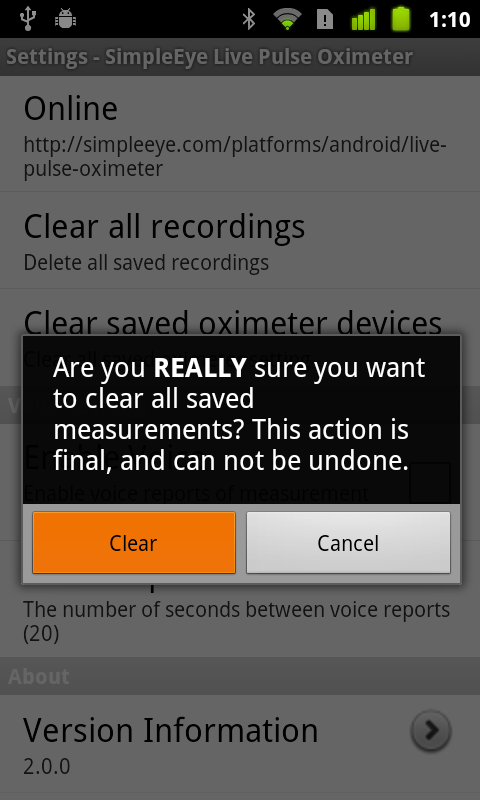
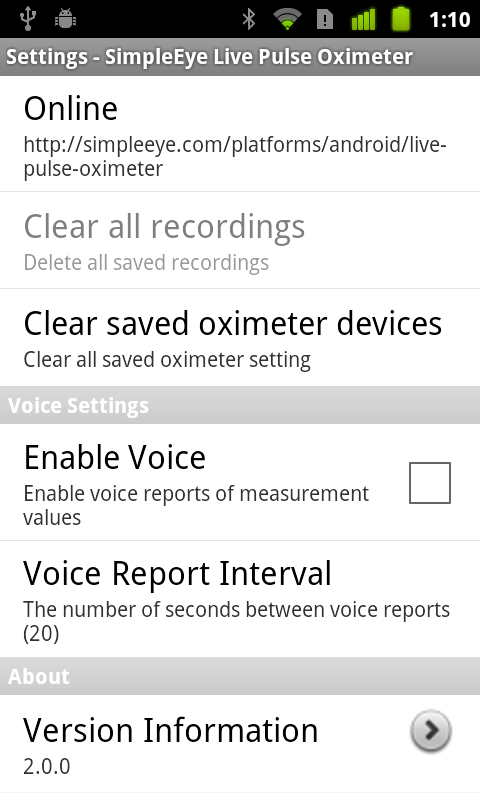
- Managing saved measurement files
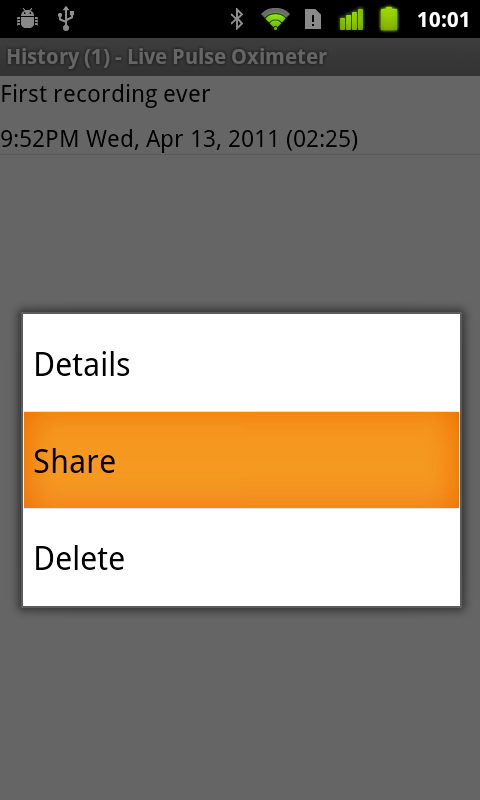
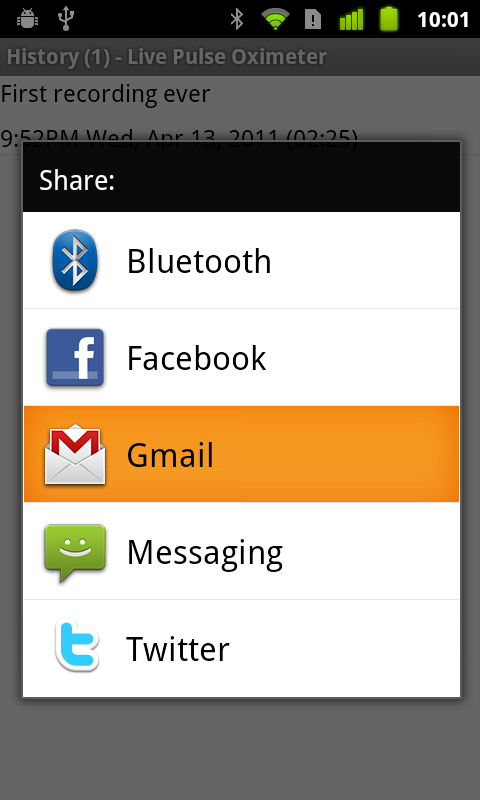
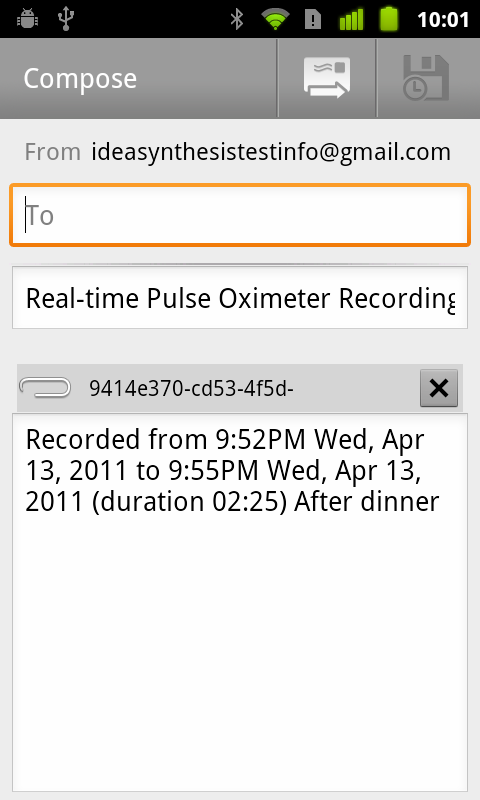
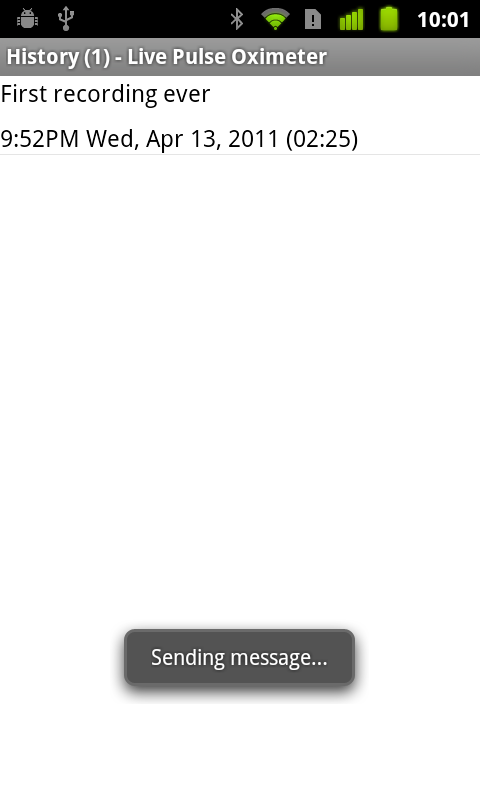
- Share saved measurement files
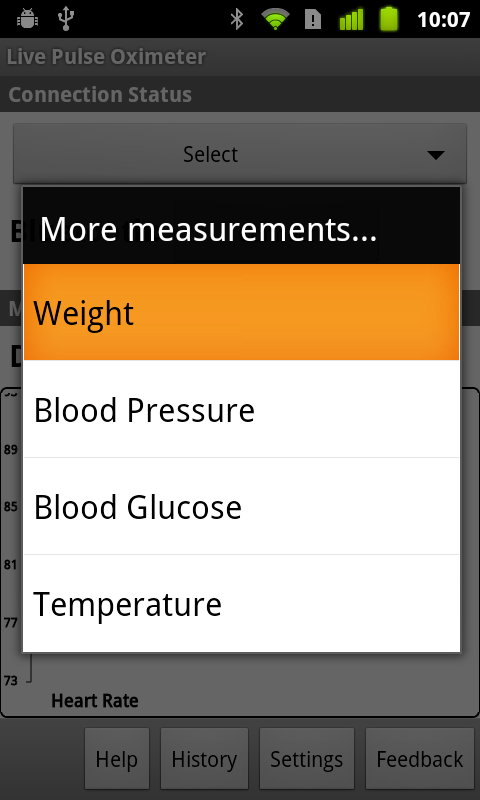
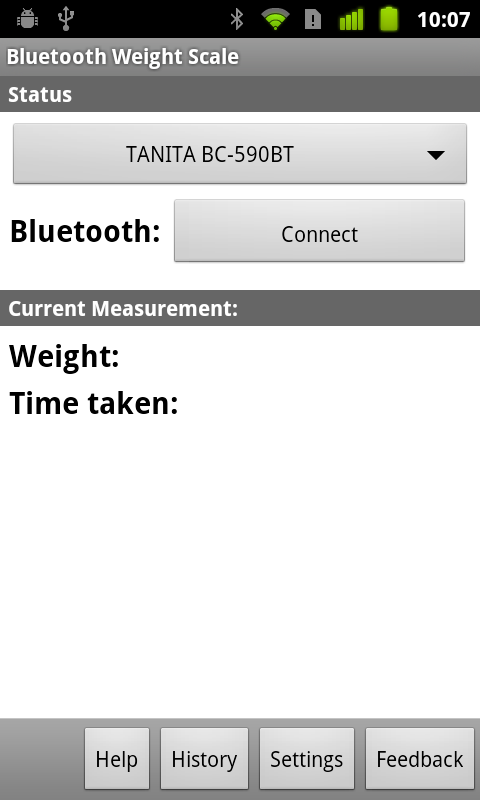
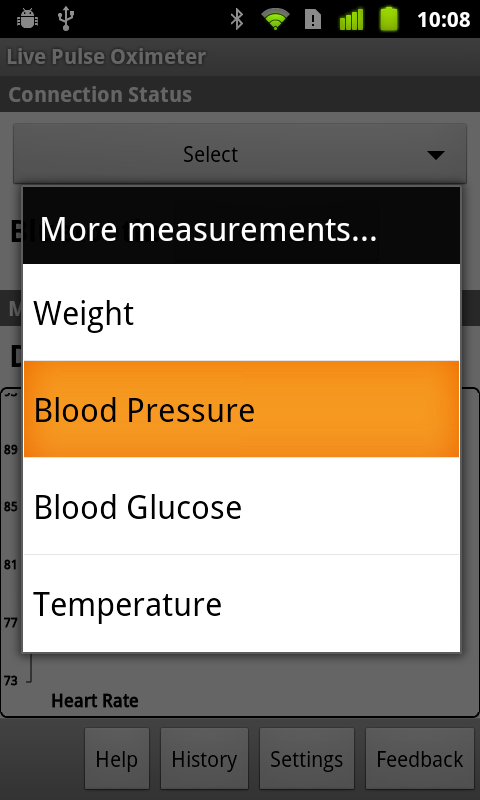
- Other measurements
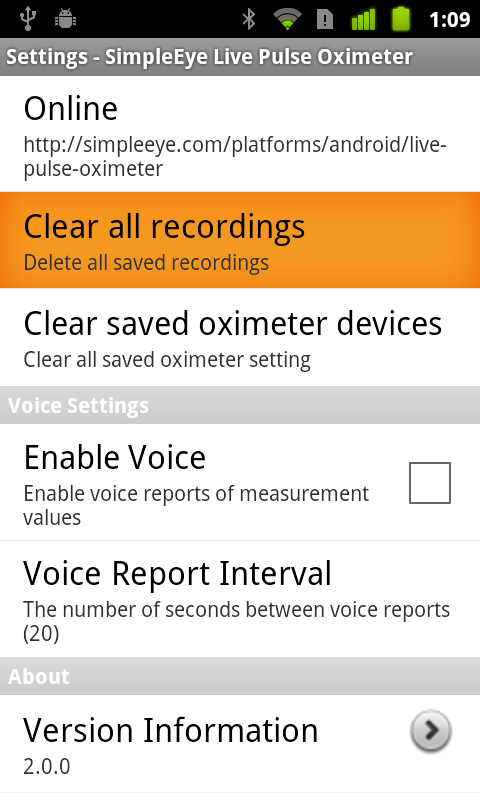
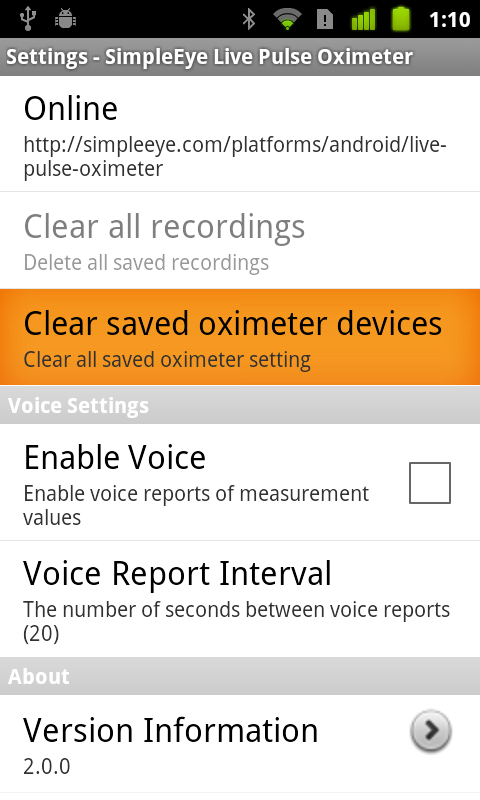
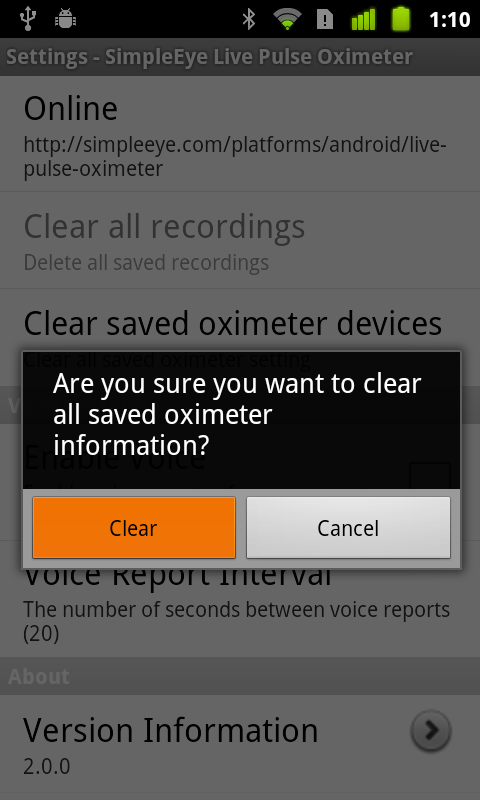
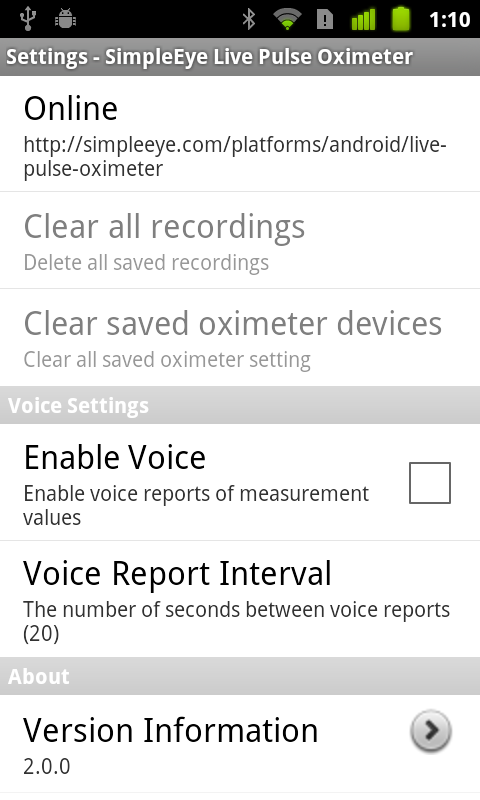
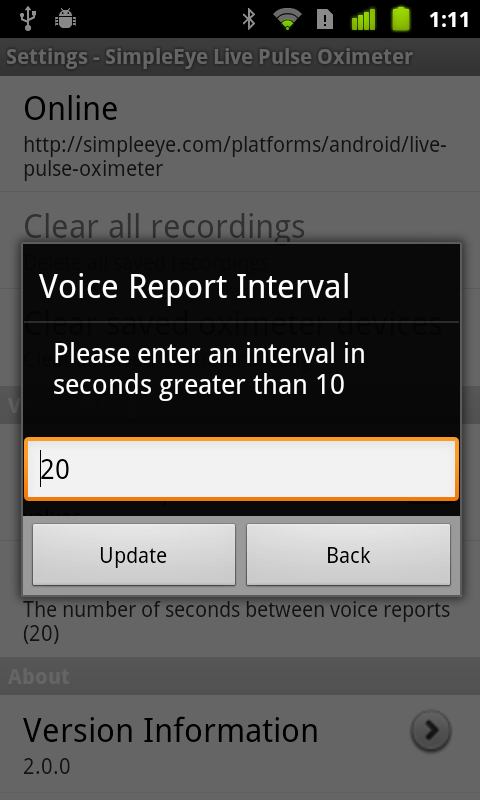
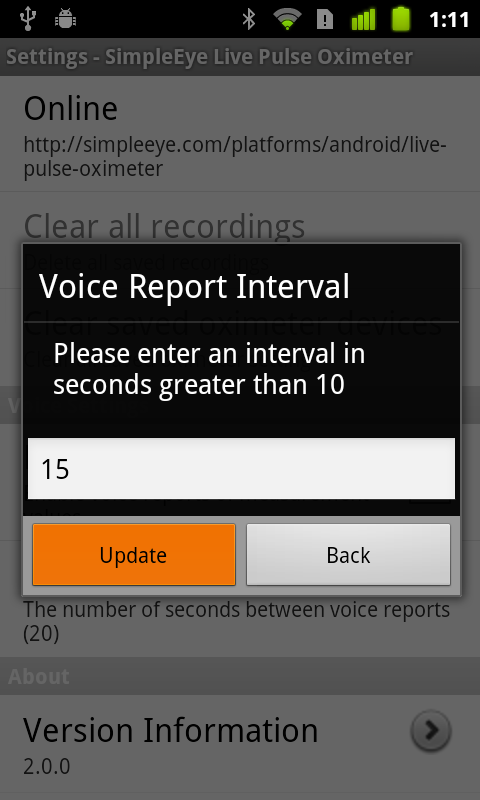
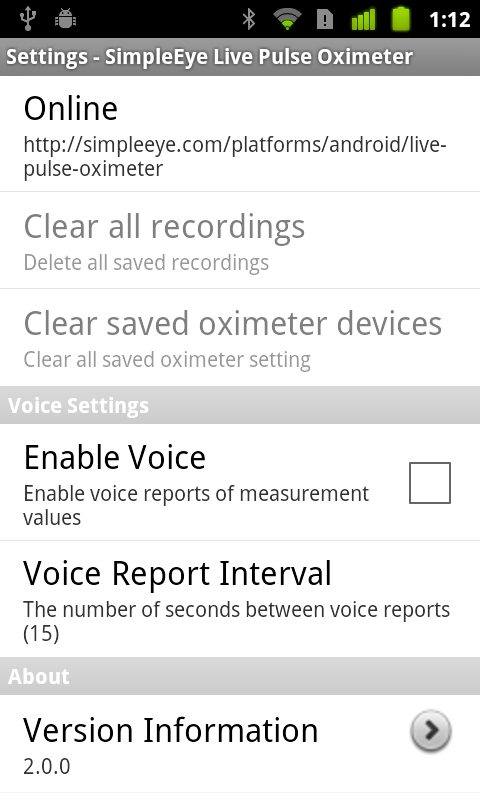
- Application settings and information
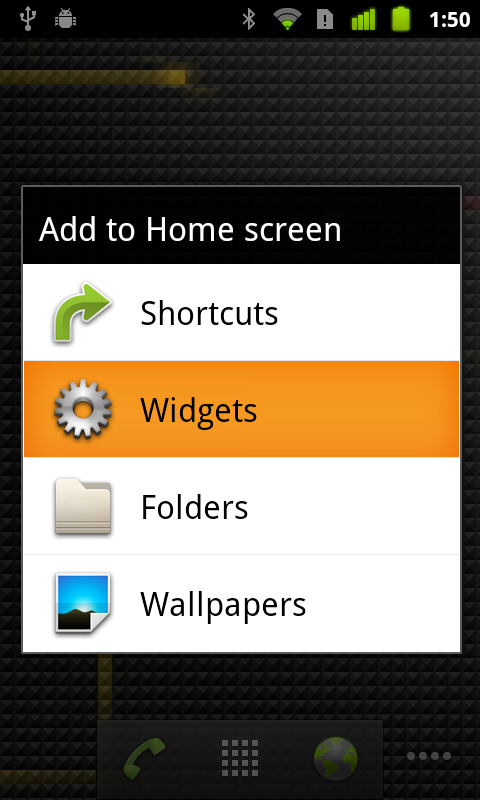
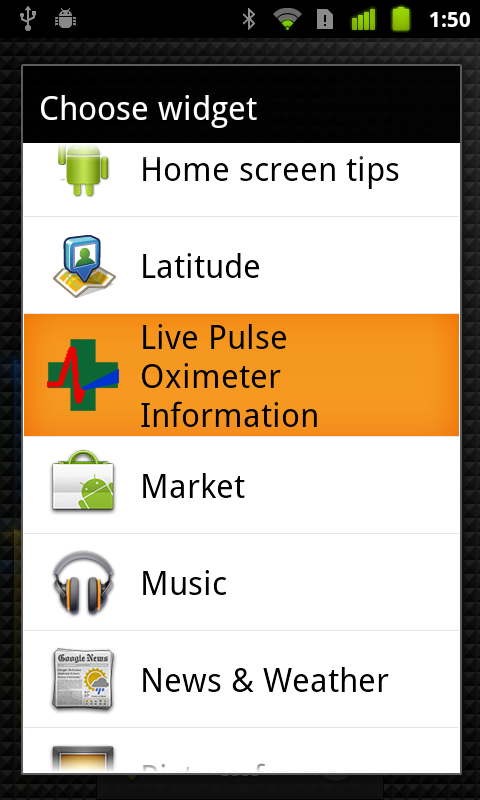
- Monitoring Widgets
- Sending Feedback
Android Device Compatibility: SimpleEye Bluetooth Pulse Oximeter has been tested and verified with Android 2.0 (Motorola® Droid on Verizon®), 2.1 (LG® Ally on Verizon® and T-Mobile® myTouch 3G Slide running HTC® SenseUI) and 2.2 (Google® Nexus One on T-Mobile®). Some minor issues that should not prevent measurements from being taken have been observed with Android 2.1 devices running the HTC® Sense UI and certain Samsung devices (models I5701 and I5801): the Bluetooth implementations on these devices have unresolved errors.
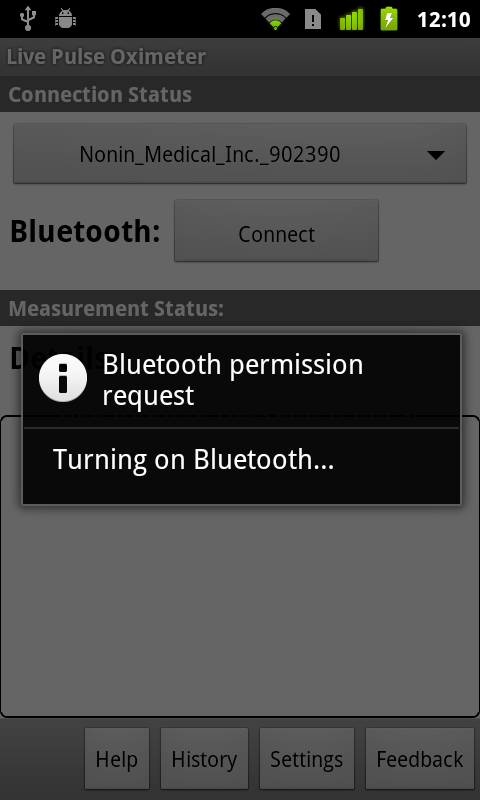
The application will then check to see if Bluetooth is enabled. If not, it will request that Bluetooth be turned on, as shown in Figure 2 below. Bluetooth must be activated to use the Bluetooth features of the software.
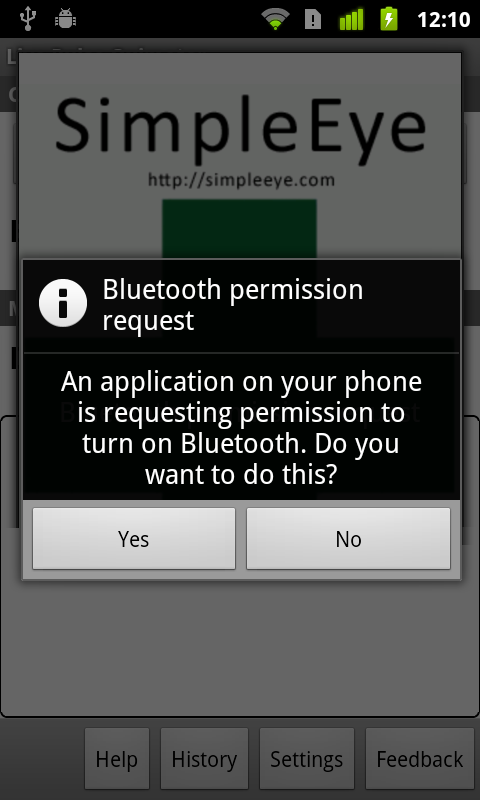
Tap to approve the request: Bluetooth will turn on as shown in Figure 3 below.
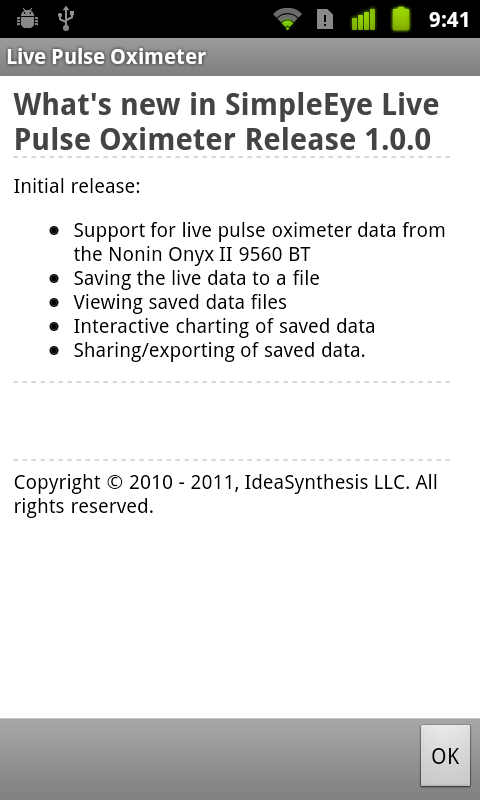
If this is the first time the application is started, the help screen will show as in Figure 4 below.
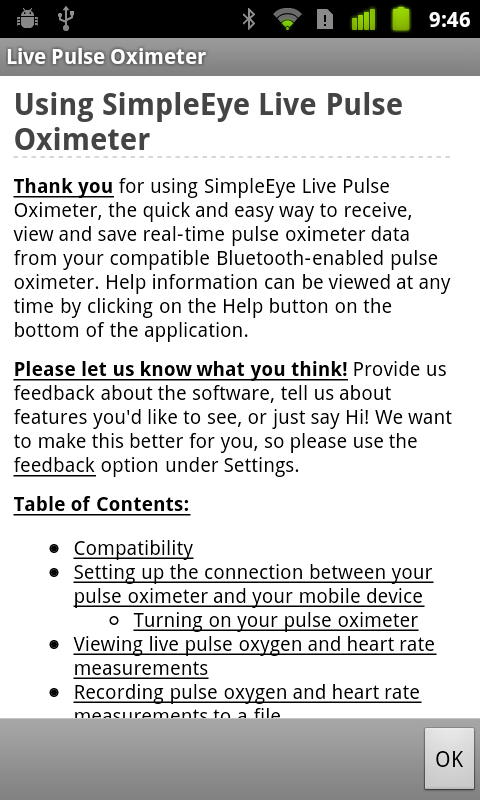
Tap to close the help screen: you can tap the button at any time to access this screen.
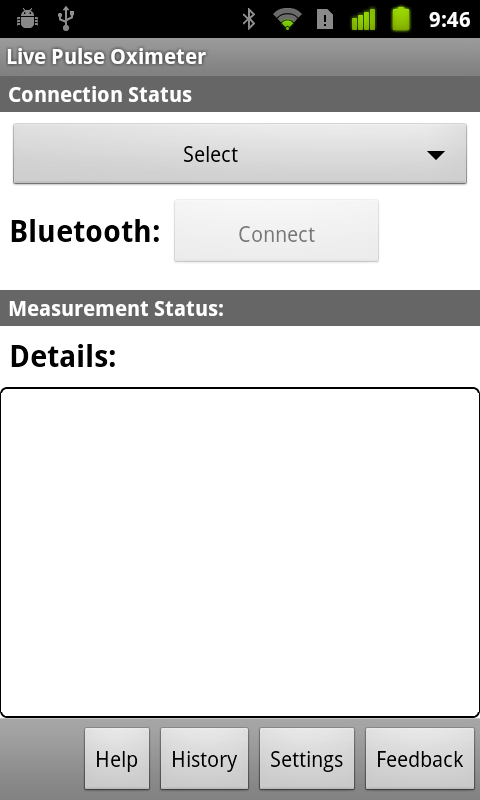
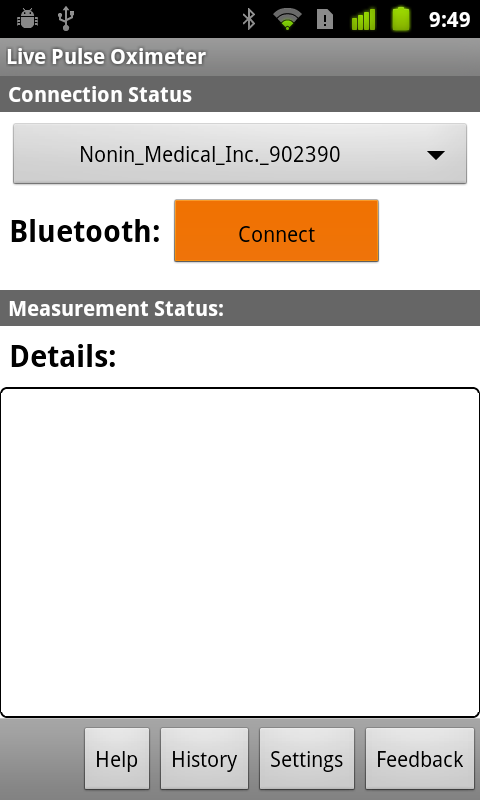
The main measurement recording screen will show as seen in Figure 5 below.
Nonin Onyx II® 9560 Bluetooth pulse oximeter:
- Put your finger into your pulse oximeter to activate it: wait until the indicator light on the front is flashing green.
ChoiceMmed MD300C318 Bluetooth pulse oximeter:
- Press the power button on the front: wait until the oximeter display turns on, then put your finger into your pulse oximeter to activate it. Once activated a Bluetooth symbol will flash next to the battery indicator.
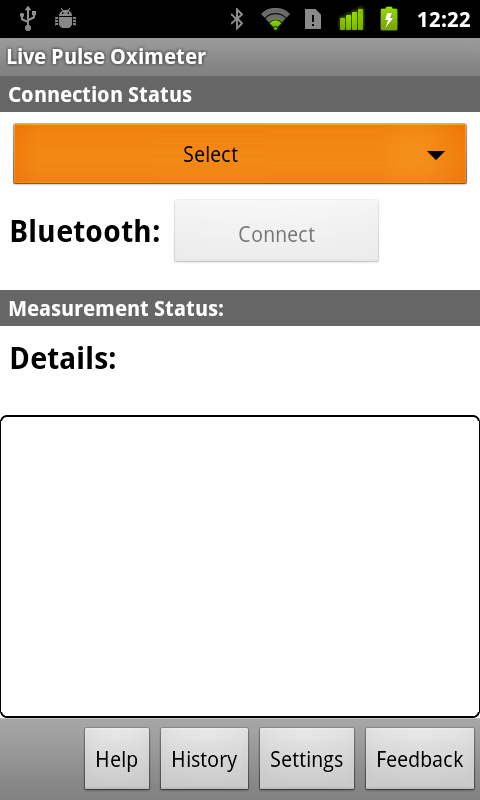
Once the pulse oximeter is ready, tap the Select button as shown in Figure 6 below.
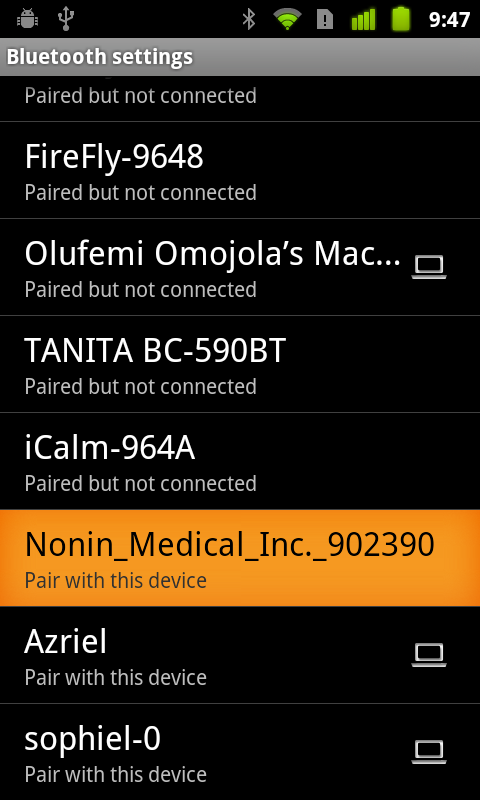
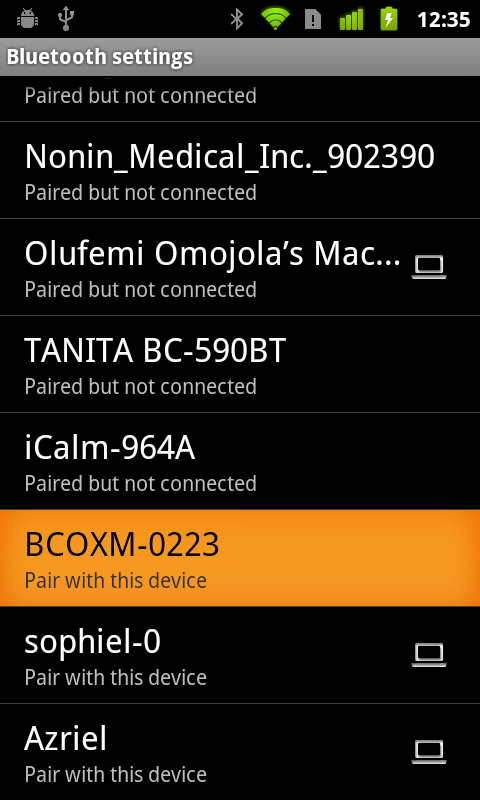
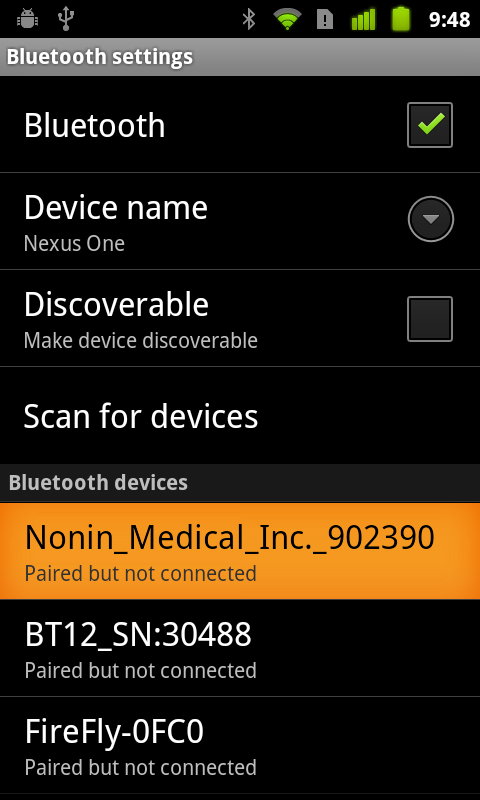
The Android Bluetooth settings screen will open up and a scan will be performed: the phone should now find the pulse oximeter as shown in Figure 7a and 7b below. The caption on the item will show Pair with this device to indicate that the pulse oximeter is not paired.
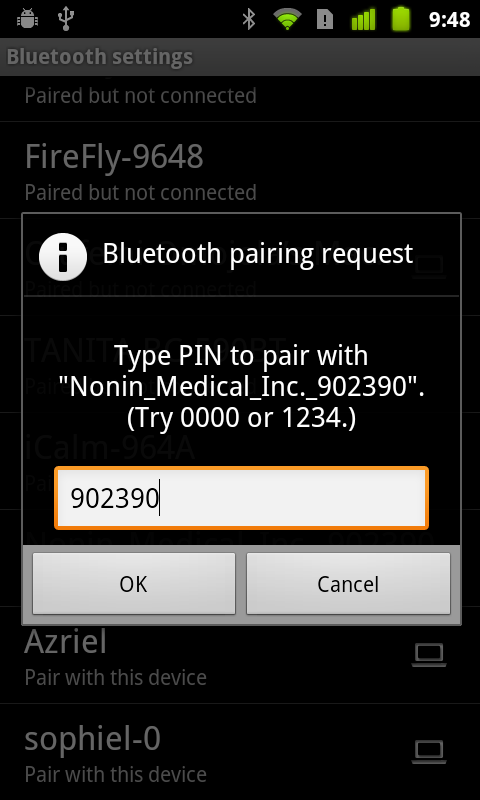
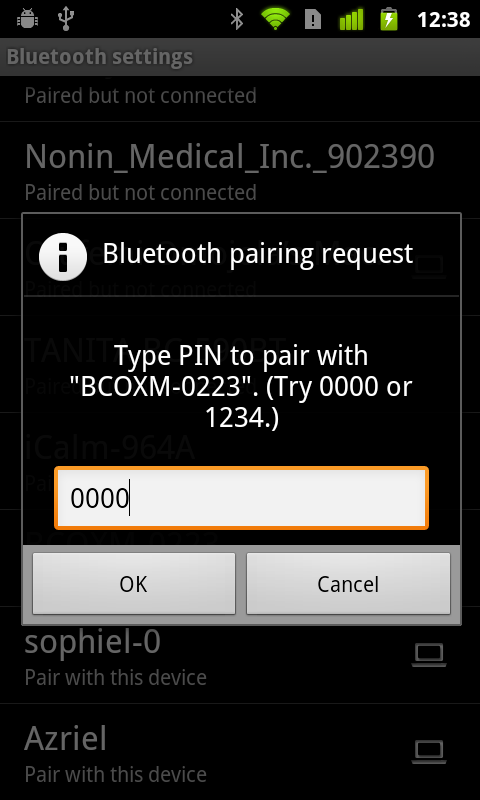
Tap the pulse oximeter item to start the pairing process: a pairing key dialog will be shown as in Figure 8a and 8b below. Enter the proper pairing code:
- For the supported Nonin pulse oximeters the code is the last 6 digits of the Bluetooth name: in Figure 7a above the pairing code is 902390 as shown in Figure 8a below.
- For the supported ChoiceMmed pulse oximeters the code is 0000 as shown in Figure 8b below.
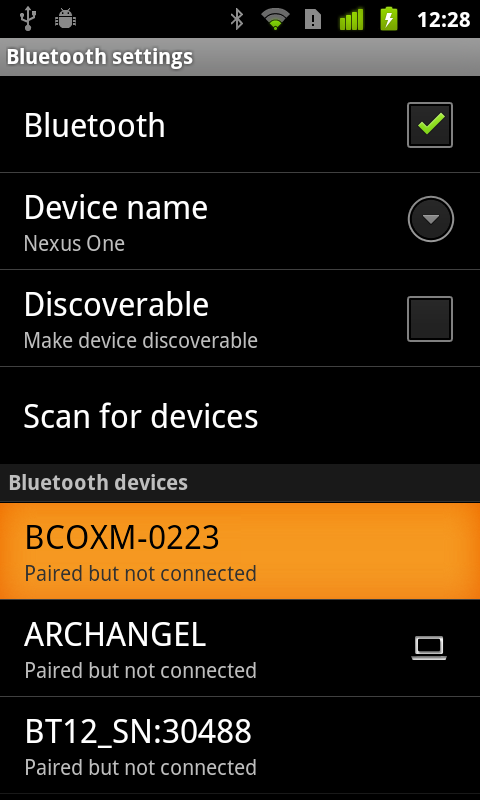
Tap : the pairing process will complete and the pulse oximeter caption will change to Paired but not connected to indicate that the pairing process is complete, as shown in Figure 9a and 9b below.
You’re now ready to go! Tap the Back button to return to SimpleEye Live Pulse Oximeter.
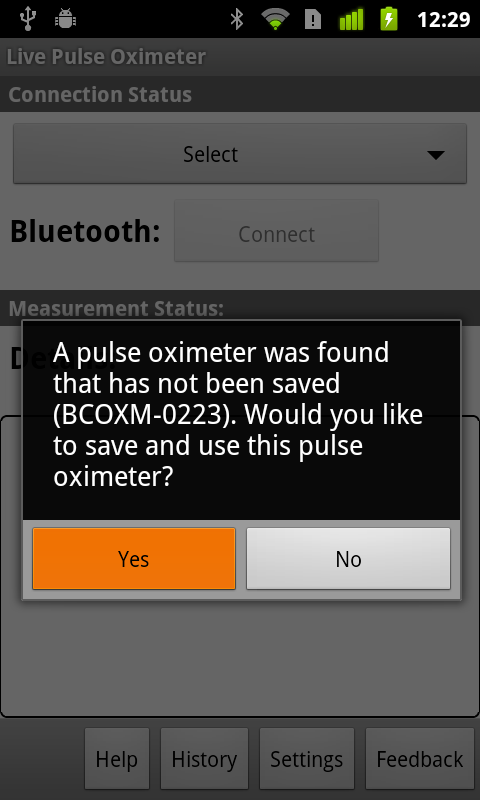
Tap Yes to accept it: you will then be prompted to set this pulse oximeter as your default pulse oximeter if an existing pulse oximeter is saved, as shown in Figure 11 below. Tap to do so.
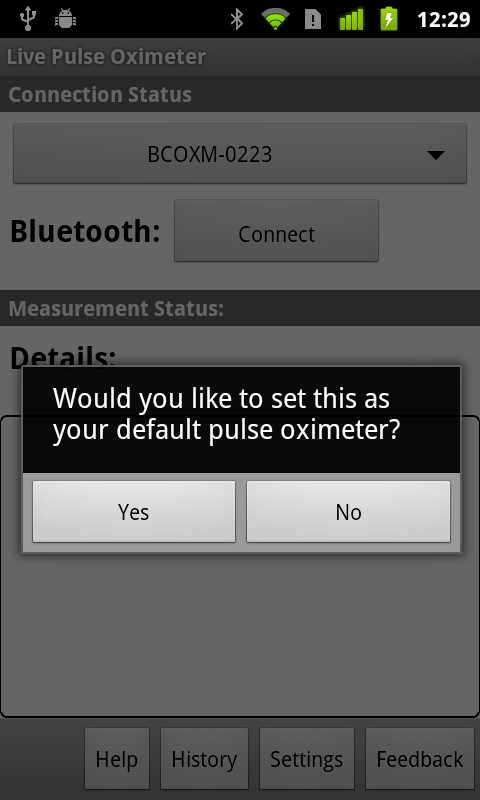
The oximeter will now be selected and the Connect button will now be enabled as shown in Figure 12 below.
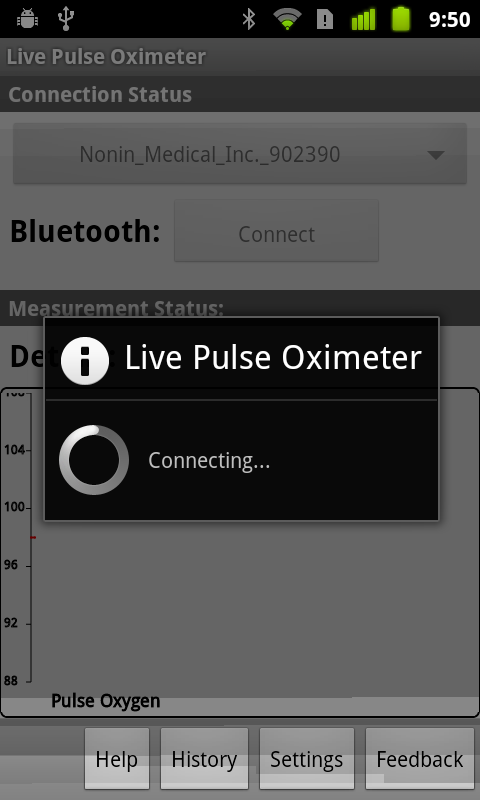
If your pulse oximeter is not currently on, turn it on now (as discussed here) and once the pulse oximeter is ready tap the Connect button to connect to the pulse oximeter. A connection will be initiated to the Bluetooth pulse oximeter as shown in Figure 13 below.
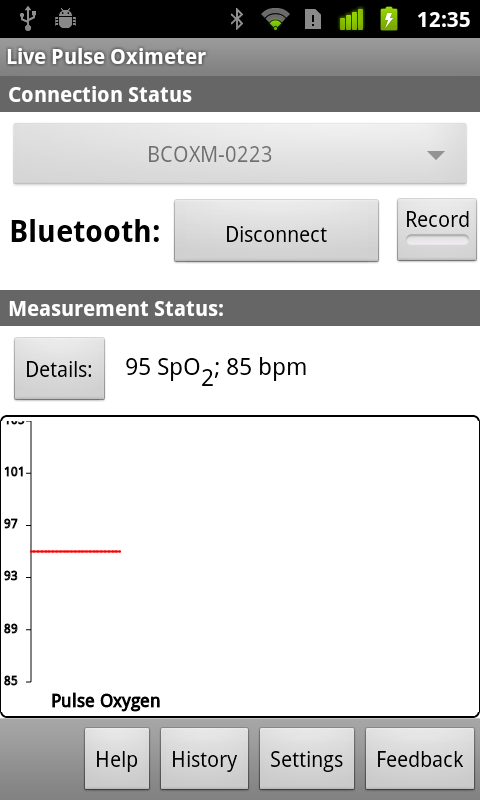
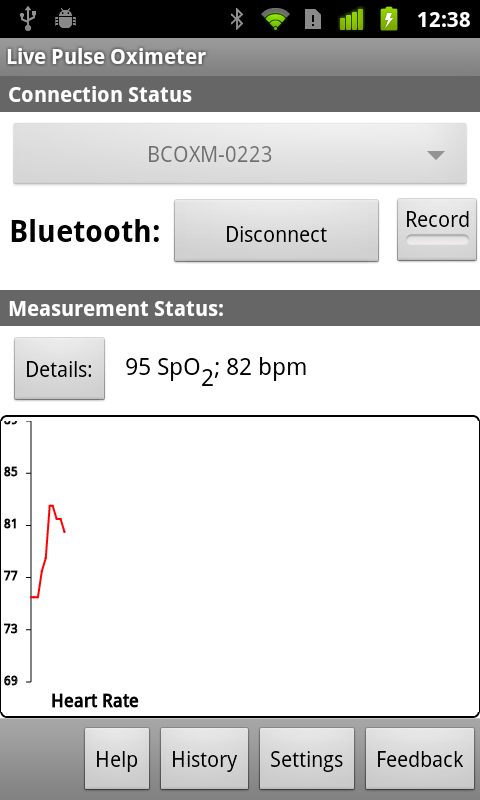
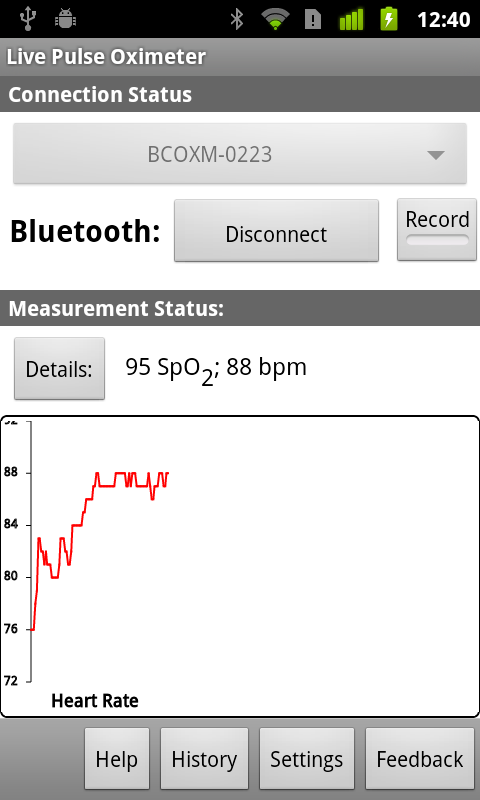
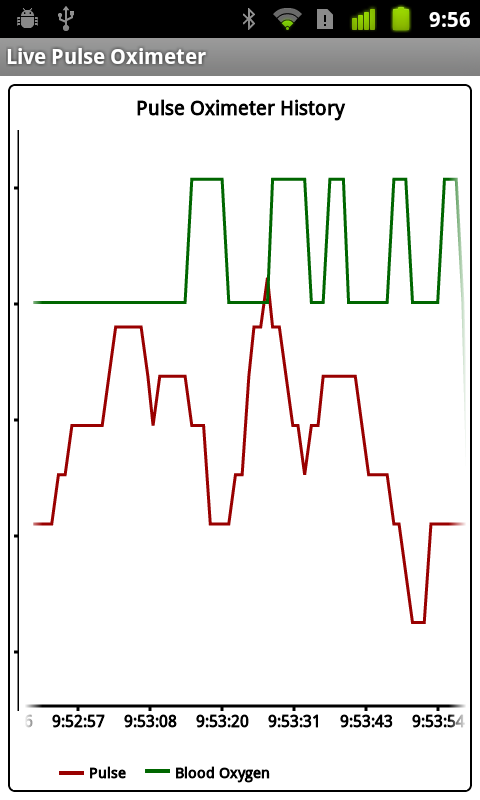
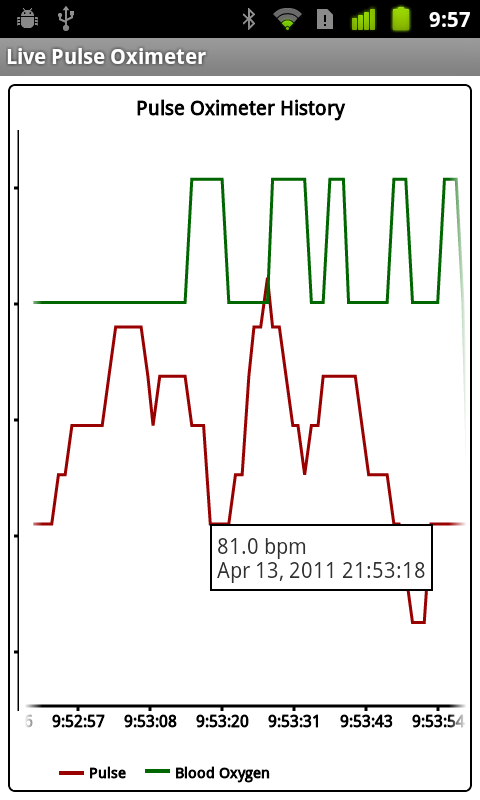
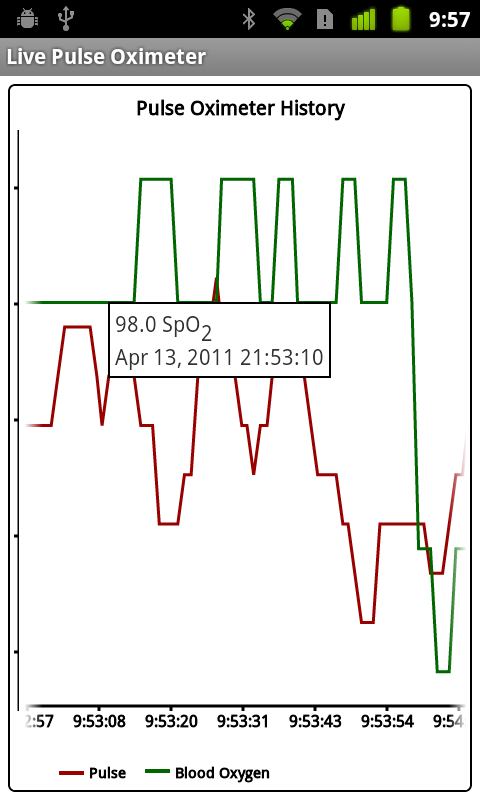
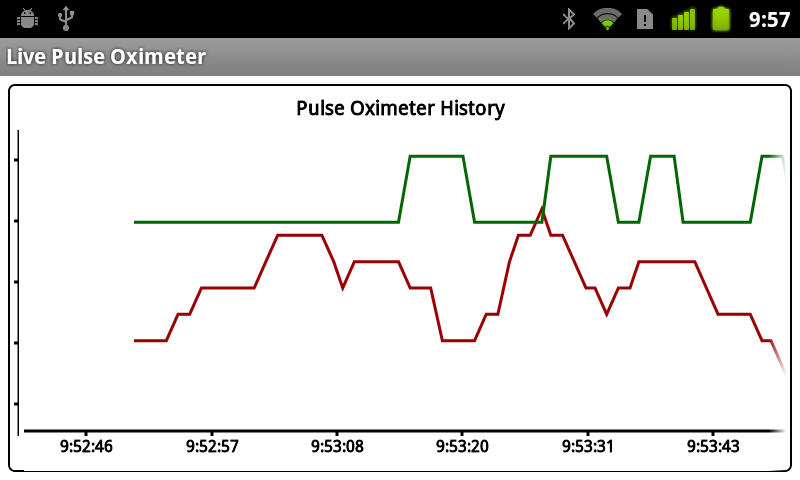
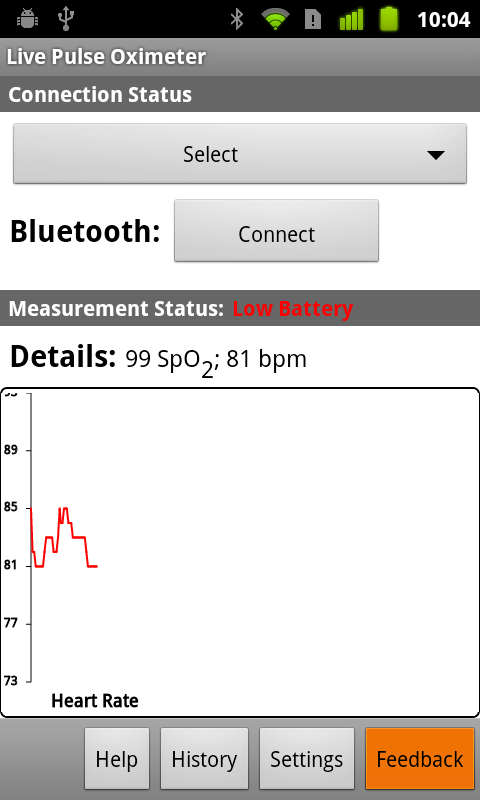
Once connected, the select button will be disabled and the Connect button will switch to Disconnect as shown in Figure 14 below. The Record button will also appear. The Details label will be updated with the most recent available measurement, and the chart will update with the pulse oxygen values as they are received.
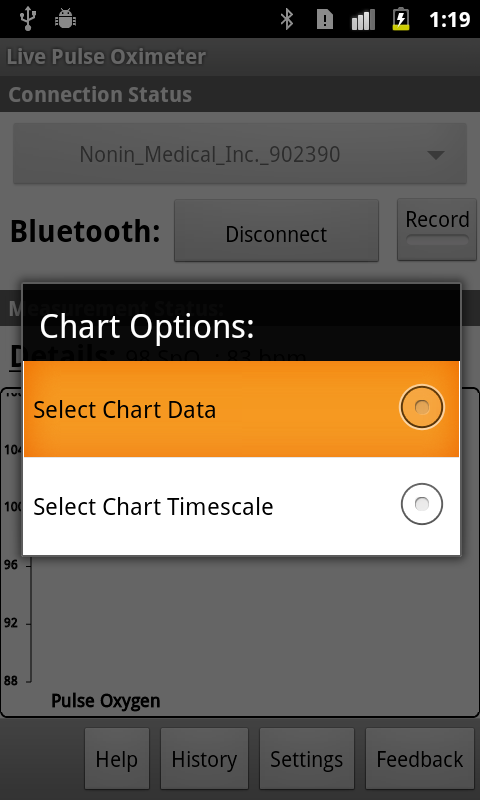


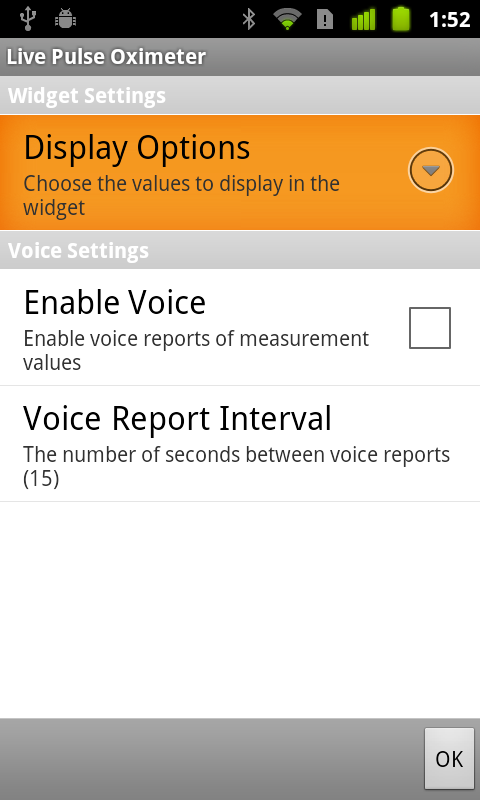
Tap the option and then scroll down to the option as shown in Figure 60 below.
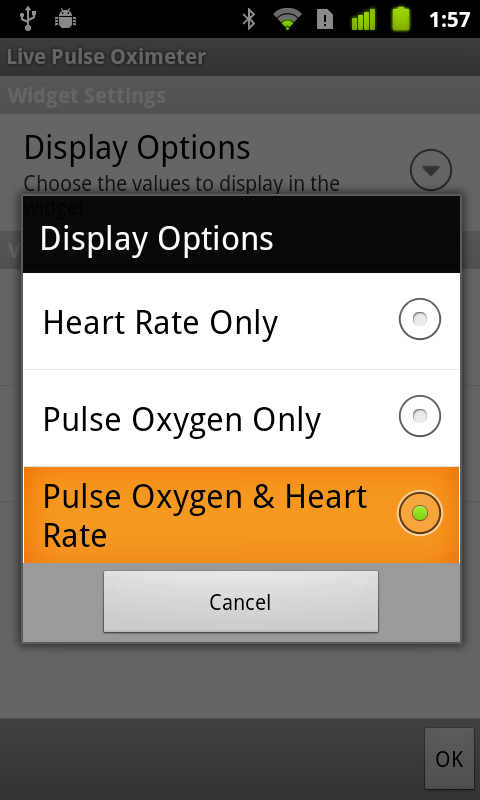
The widget configuration menu will be displayed as shown in Figure 61 below. This will allow you choose the display options.
By default the widget will display the heart rate and the pulse oxygen information as selected in Figure 62 below, but this can be customized on a per-widget basis.
The voice reporting settings can also be adjusted here: the display options are per-widget but the voice information is for the entire application.
Once the desired option is set, tap OK to create the widget: it will be displayed as shown in Figure 63 below.
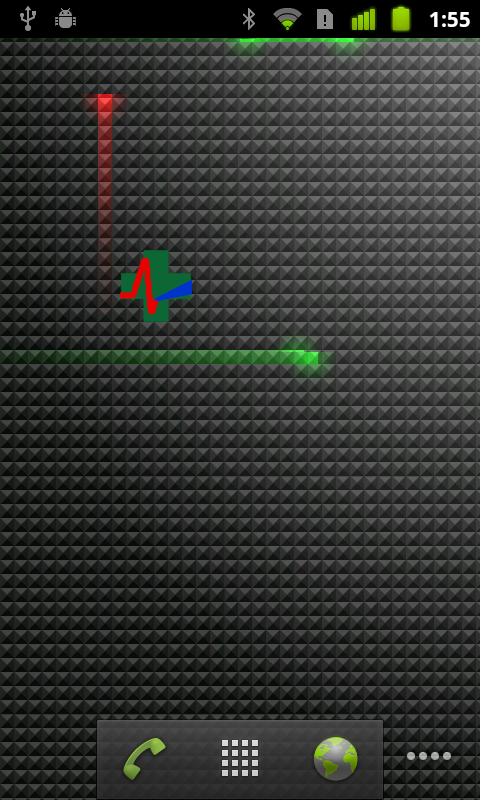
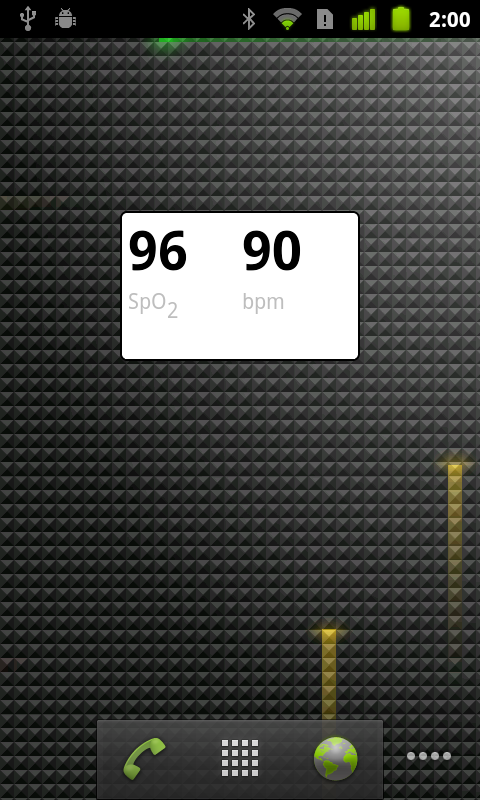
When no pulse oximeter is connected the widget will display an icon as seen in Figure 63 above: tapping on the widget will open SimpleEye Live Pulse Oximeter. When a connection is made and the application is hidden or minimized the widget will show the actual measurement values based on the chosen display options. This is shown in Figure 64 below.
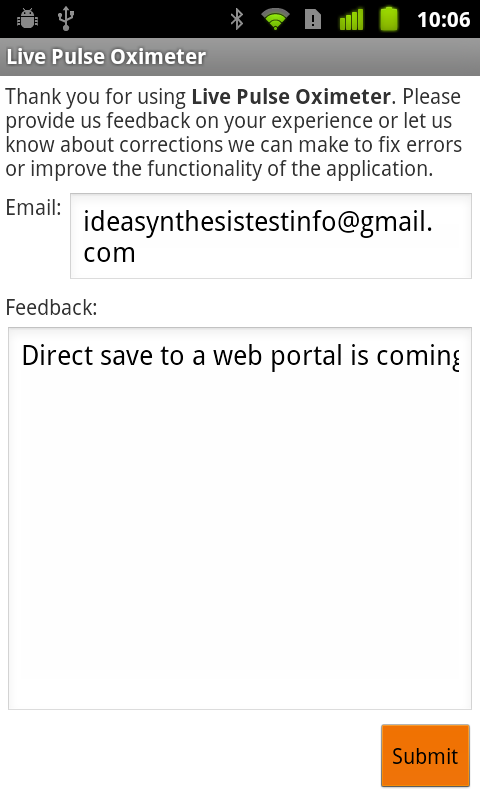
Enter an email address (this is required, so we can respond to you about your requested change) and your comments and then press the Submit button as shown in Figure 66 below to send it.
Your submission will be confirmed as shown in Figure 67 below, and that’s it. Thank you!
